
Using Postgres Row-Level Security in Ruby on Rails
 By Eze Sunday Eze
Securing access to your Postgres database is more important than ever. With applications growing more complex, often times using multiple programming languages and frameworks within the same app, it can be challenging to ensure access to customer data is handled consistently. For example, if you are building a SaaS application where different companies use the application, you don’t want users of Company A to see the data of users in Company B by accident.
Sure, you could use create a separate Postgres schema for each customer, or try to ensure the WHERE clause of every single query includes the particular company—but what if you forget a WHERE clause? That means users from company A will be able to see or manipulate data from company B and maybe other companies, at some point. You don’t want that to happen.
Row-Level Security (RLS) solves this problem. It is an additional layer of security that allows you to limit access to database rows based on the currently logged in database user or other attributes of a Postgres connection. With RLS, you wouldn’t even need to add a WHERE clause to your queries to limit access to certain rows because users will be able to access only rows that the Row-Level Security policy allows them to have access to.
In this post, you are going to learn how Row-Level Security works with Postgres and how you can implement it in your Rails app. As a side note: Should you be interested in learning how to use Row-Level Security with Python and Django, you can read our dedicated article about it here: Using Postgres Row-Level Security in Python and Django.
Row-Level Security in Postgres
Row-Level Security is an advanced security feature that was first released in PostgreSQL 9.5. Instead of adding restrictions to an entire table, with RLS, we can add fine-grained access restrictions for individual rows based on policies. You can imagine RLS like an implicit WHERE clause that automatically gets added to all your reads and writes on specific tables.
There are trade-offs to consider with RLS, and it may not always be the best fit because of implementation complexity and performance implications. We’ll get to these later on, but lets take a look at how RLS works first.
How to Create a Postgres RLS Policy
For this example we assume our customers store financial records with us, and we are looking to use RLS for ensuring no data gets shared by accident with other customers.
Let’s create a transactions table to start with:
CREATE TABLE transactions (
    id uuid PRIMARY KEY NOT NULL DEFAULT gen_random_uuid(),
    customer_id bigint NOT NULL,
    description text NOT NULL,
    amount_cents bigint NOT NULL,
    created_at timestamptz NOT NULL
);
We could use the GRANT mechanism in Postgres to restrict access, but that only works in an all-or-nothing approach - it doesn’t let you restrict access to certain rows in the table.
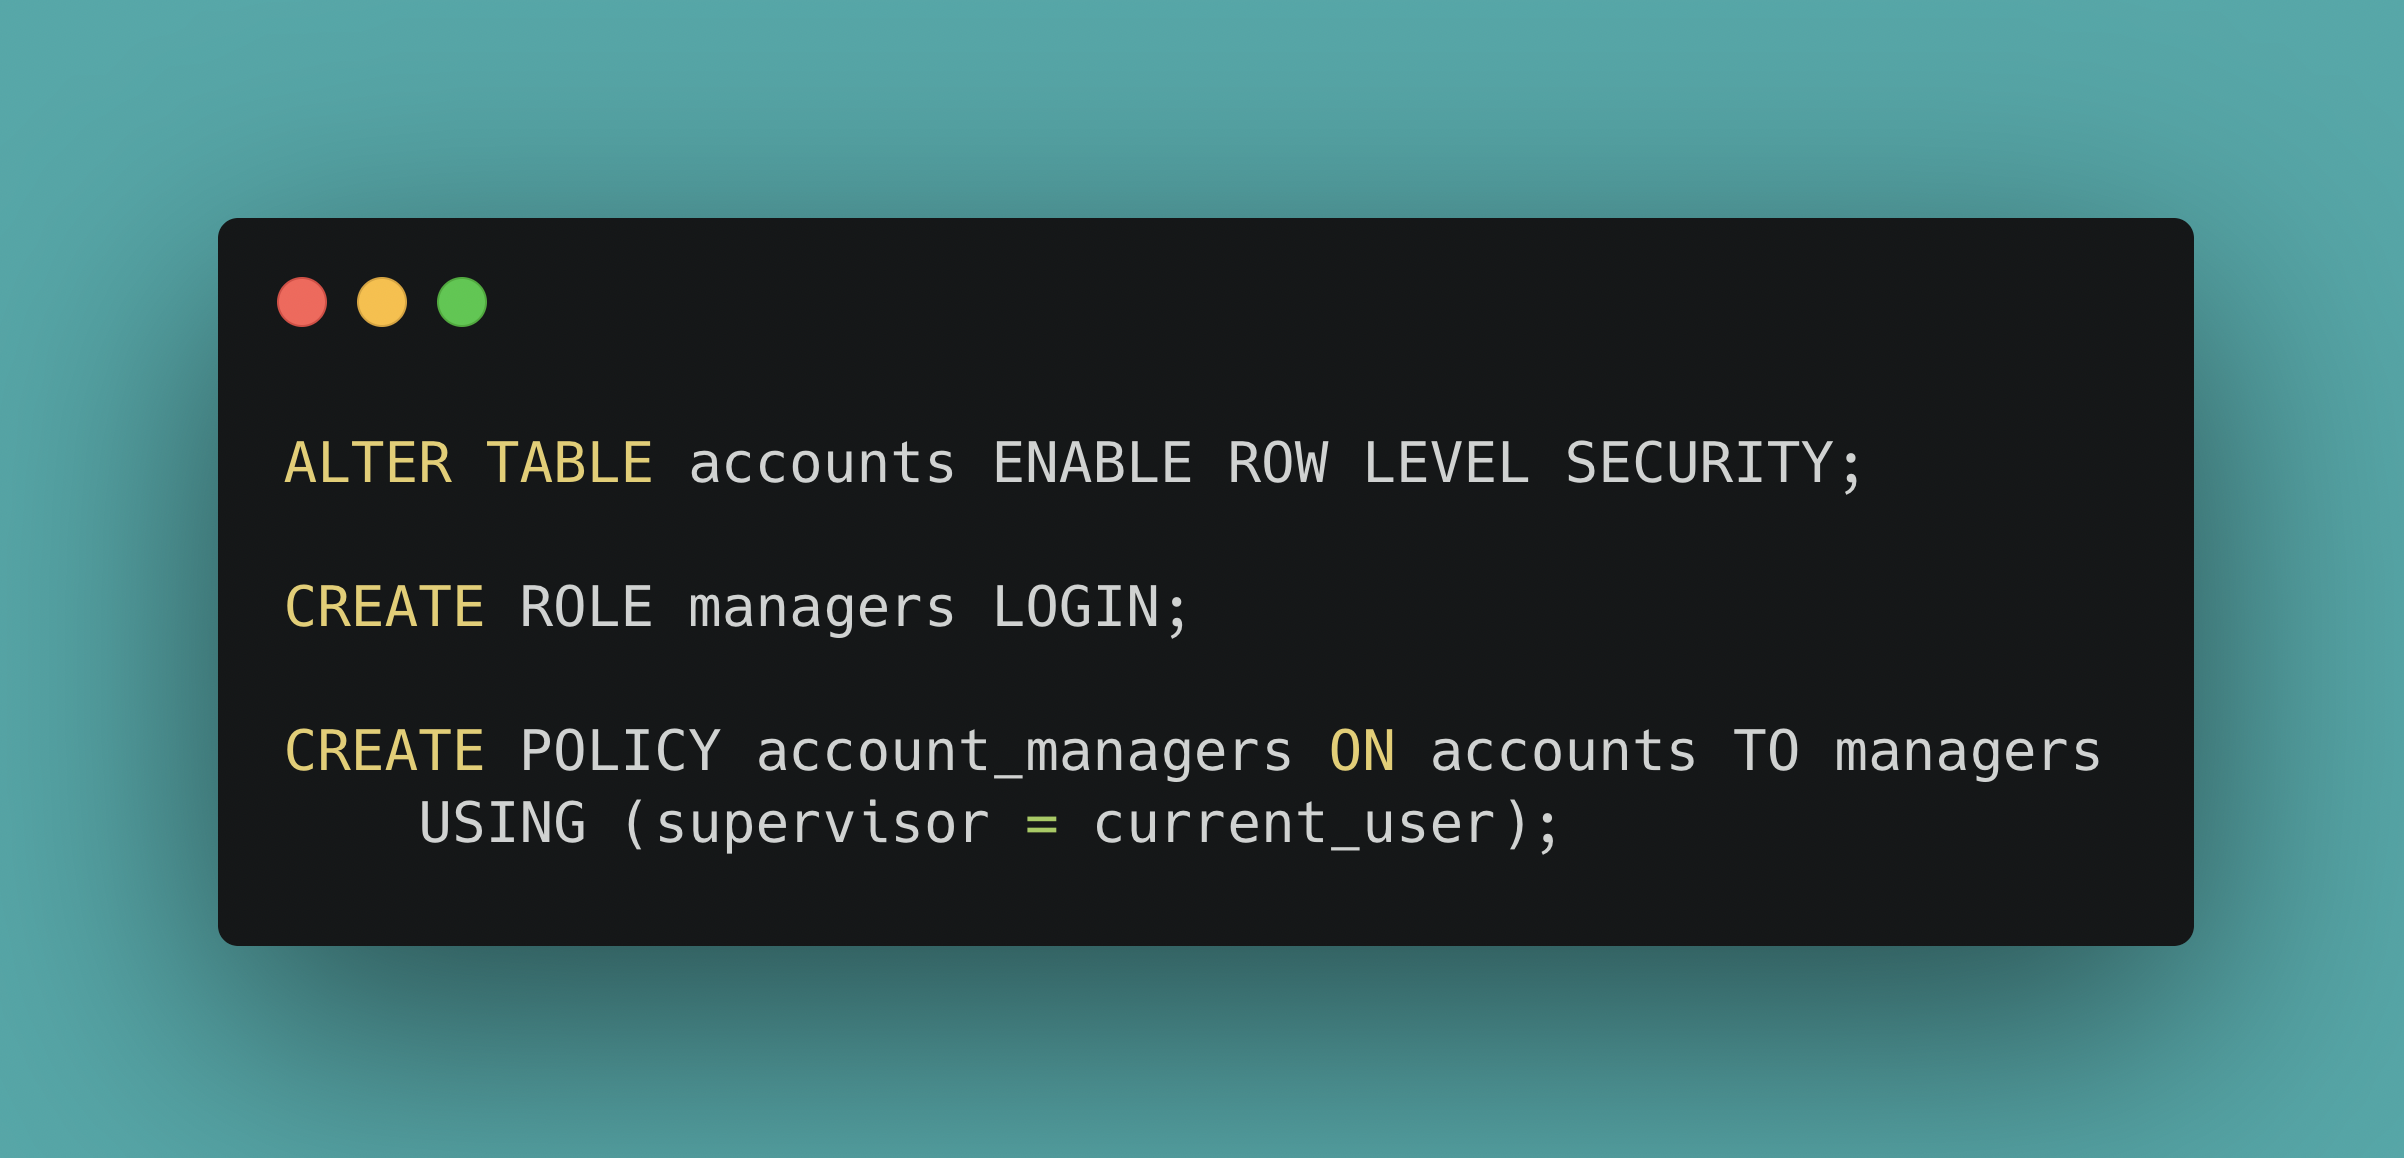
This is what Row-Level Security helps us with. Enable RLS on the accounts table we just created using the ALTER TABLE command:
ALTER TABLE transactions ENABLE ROW LEVEL SECURITY;
Since we have not created a policy yet, this will enable a default-deny policy on the table, meaning all access is denied. However, the table owner, superusers and roles with the BYPASSRLS attribute will not be subject to this policy.
Now, we’ll need to create a policy that defines the database access for our application user, depending on which end customer is currently logged in.
For mapping an end customer to an RLS policy, we have two options:
-
(1) Create separate database users for each customer, and check the
current_userin the RLS policy -
(2) Use a session variable that indicates which customer is logged in, e.g. by calling
SET rls.customer_id = 42, and then checking that in the policy usingcurrent_setting
From a security and isolation perspective, using separate database users is clearly better, but it ends up being complicated to manage in practice. This is especially the case when using a framework like Ruby on Rails that would have to maintain per-user connection pools. You can take a look at the Postgres documentation to see an example of how RLS with separate database users works.
Using Postgres session variables in Row-Level Security policies
For this post we’ll focus on using session variables for determining which end customer is currently logged in, and checking that variable in our RLS policy.
We’ll use the variable rls.customer_id to identify the current customer ID. Note that you can use any variable name, e.g. myapp.user_id - just make sure the name doesn’t conflict with any Postgres config settings.
To start, we’ll create a new Postgres database user for our application. It’s generally a good practice to keep administrative Postgres users separate from regular users, and this is especially important with RLS since the administrative user would typically be the table owner, and that user would by default always have full access to the table.
Let’s create the user on our database:
CREATE USER app_user;
GRANT SELECT, INSERT, UPDATE, DELETE ON transactions TO app_user;
If we connect with this user to the database, and attempt to query the transactions table, we’ll get an empty result.
SELECT * FROM transactions;
 id | customer_id | description | amount_cents | created_at
----+-------------+-------------+--------------+------------
(0 rows)
This is by design - if the RLS policy denies access for a SELECT you will simply get an empty result. You can imagine the default-deny RLS policy as a WHERE false clause that will always return nothing.
When we attempt to insert data we can see the RLS policy in effect more easily:
INSERT INTO transactions(customer_id, description, amount_cents, created_at)
  VALUES (1, 'test', 4200, '2020-01-01 00:00:00');
ERROR: new row violates row-level security policy for table "transactions"
Let’s create a policy to replace the default-deny policy, that allows access based on the current value of the rls.customer_id session variable:
CREATE POLICY transactions_app_user
  ON transactions
  TO app_user
  USING (customer_id = NULLIF(current_setting('rls.customer_id', TRUE), '')::bigint);
This permits SELECT, INSERT, UPDATE and DELETE access if the value of the customer_id column matches the rls.customer_id session variable. Since session variables use the text type, we need to cast it to bigint in the policy definition for comparison, and use NULLIF to ensure empty values don’t get turned into 0, but rather NULL, meaning no access.
When we connect now, we would still get the same error by default, since rls.customer_id would not be set yet. However, when we set the rls.customer_id, our query will succeed:
SET rls.customer_id = 1;
INSERT INTO transactions(customer_id, description, amount_cents, created_at)
  VALUES (1, 'test', 4200, '2020-01-01 00:00:00');
Testing RLS permissions with different customers
If we attempted to add a record for a different user, that would fail, since it violates the RLS policy:
INSERT INTO transactions(customer_id, description, amount_cents, created_at)
  VALUES (2, 'test2', 2300, '2020-01-01 00:00:00');
ERROR: new row violates row-level security policy for table "transactions"
For querying the data we just added, we can see our own row when querying the table:
SELECT * FROM transactions;
                  id                  | customer_id | description | amount_cents |     created_at
--------------------------------------+-------------+-------------+--------------+---------------------
 bfd4b810-487d-4622-af24-73d284fb90d4 |           1 | test        |         4200 | 2020-01-01 00:00:00
(1 row)
However, if we change the customer ID, the data of the other customer is no longer visible:
SET rls.customer_id = 2;
SELECT * FROM transactions;
 id | customer_id | description | amount_cents | created_at
----+-------------+-------------+--------------+------------
(0 rows)
You can see how this provides protection against accidentally inserting or querying the data for the wrong customer. If you consistently set (and reset!) the rls.customer_id variable, it ensures that all queries made are only seeing data for that particular customer.
Now, the big caveat with this approach is that SQL injection could enable an attacker to issue their own SET command, therefore accessing other customer’s data. The session variable based approach is only safe when you protect yourself against SQL injections. Modern frameworks like Ruby on Rails are generally good at this, but you may want to consider running additional tools like brakeman to ensure hand-written queries are correctly sanitized.
Let’s see how you can implement RLS in your Rails app.
Row-Level Security in Ruby on Rails
Ruby on Rails does not provide any built-in integration with RLS, and as mentioned earlier its complicated to use an RLS setup where you have one database user per end customer, since Rails would have to keep separate connection pools for each user. The session variable based approach however is fairly straightforward to implement.
First of all, let’s review what we need to do:
- (1) Set up our database and tables for RLS through Rails migrations
- (2) Use a different user for our application than for our migrations
- (3) Set the customer ID when entering a customer-specific context, and reset the customer ID when exiting that context (to avoid leaks)
Let’s take a look at the migration first:
Creating RLS enabled tables in Rails migrations
To keep things simple, we’ll assume that you are adding the Transaction model and associated transactions table to the application. This example assumes you have dropped the table we created manually earlier.
rails g model transaction
class Transaction < ApplicationRecord
end
class CreateTransactions < ActiveRecord::Migration[6.1]
  def change
    create_table :transactions, id: :uuid do |t|
      t.bigint :customer_id
      t.text :description
      t.bigint :amount_cents
      t.timestamptz :created_at
    end

    # Grant application user permissions on the table (this migration should run as the admin user)
    reversible do |dir|
      dir.up do
        execute 'GRANT SELECT, INSERT, UPDATE, DELETE ON transactions TO app_user'
      end
      dir.down do
        execute 'REVOKE SELECT, INSERT, UPDATE, DELETE ON transactions FROM app_user'
      end
    end

    # Define RLS policy
    reversible do |dir|
      dir.up do
        execute 'ALTER TABLE transactions ENABLE ROW LEVEL SECURITY'
        execute "CREATE POLICY transactions_app_user ON transactions TO app_user USING (customer_id = NULLIF(current_setting('rls.customer_id', TRUE), '')::bigint)"
      end
      dir.down do
        execute 'DROP POLICY transactions_app_user ON transactions'
        execute 'ALTER TABLE transactions DISABLE ROW LEVEL SECURITY'
      end
    end
  end
end
Before we run the migration, let’s make sure we use two separate database users for migrations and the actual application.
Using separate users for migrations in Rails
Whilst Rails now has built-in support for multiple database connections, it’s not really suited for running the migrations with a different user. Luckily there is a simple solution to this, that works in most Rails versions.
Typically a Rails production app has a Procfile that is used to define which process types can be created for the app. On your local machine foreman can be used to handle the Procfile. The simplest Procfile looks like this:
web: bundle exec puma -C ./config/puma.rb
console: bundle exec rails console
migrate: bundle exec rake db:migrate
We’ll assume that you commonly specify the database connection using the DATABASE_URL variable, as would be the case when using Heroku for example. Through a bash variable substitution we can use a separate environment variable called DATABASE_URL_ADMIN for database migrations:
web: bundle exec puma -C ./config/puma.rb
console: bundle exec rails console
migrate: DATABASE_URL=${DATABASE_URL_ADMIN:-$DATABASE_URL} bundle exec rake db:migrate
For local testing we can configure both database connection variables in my .env file:
DATABASE_URL=postgresql://app_user@127.0.0.1:5432/rlstest
DATABASE_URL_ADMIN=postgresql://app_admin@127.0.0.1:5432/rlstest
When we call foreman, it will result in the migrations running as the admin user:
foreman run migrate
Similarly, on Heroku, you could have this run as part of your release command, or manually trigger the migrate process type.
Again, this separation is important so we can ensure the application always sets a particular customer ID for queries, and does not get the “free for all” that table owners get which permits access on the whole table.
In case you want to run some of your code as the admin user you could set up a separate connection for that using Rails’ multiple database connections feature.
Setting the Customer ID in Rails
To ensure we access the database with the correct customer ID, we can first add helpers to the ApplicationRecord:
class ApplicationRecord < ActiveRecord::Base
  self.abstract_class = true

  SET_CUSTOMER_ID_SQL = 'SET rls.customer_id = %s'.freeze
  RESET_CUSTOMER_ID_SQL = 'RESET rls.customer_id'.freeze
  def self.with_customer_id(customer_id, &block)
    begin
      connection.execute format(SET_CUSTOMER_ID_SQL, connection.quote(customer_id))
      block.call
    ensure
      connection.execute RESET_CUSTOMER_ID_SQL
    end
  end
end
And then we can add an around filter to our ApplicationController, making sure the correct customer gets set based on an existing current_user method (e.g. from an authentication library like Devise).
class ApplicationController < ActionController::Base
  around_action :with_customer_id

  def with_customer_id
    ApplicationRecord.with_customer_id(current_user.id) do
      yield
    end
  end
end
With this filter in place all queries within the request will automatically be limited to the current customer - thanks to RLS.
We can also use this when querying data in the console:
ApplicationRecord.with_customer_id(1) do
  puts Transaction.all.to_a.inspect
end
   (1.4ms)  SET rls.customer_id = 1
  Transaction Load (1.6ms)  SELECT "transactions".* FROM "transactions"
[#<Transaction id: "bfd4b810-487d-4622-af24-73d284fb90d4", customer_id: 1, description: "test", amount_cents: 4200, created_at: "2020-01-01 00:00:00.000000000 +0000">]
   (1.5ms)  RESET rls.customer_id
It’s important that your application keeps using the same Postgres connection for its queries, as the one that we issued the SET command on. Rails currently makes this quite straightforward, as the same connection will be used within a single Rails web request. Connections are returned to the pool after a request has finished (and we would have called RESET rls.customer_id).
If you have code that directly interacts with the Rails connection pool you should review the Rails connection pool documentation or consider using a transaction and SET LOCAL.
Any custom code that interacts with the Rails connection pool, or third-party connection poolers, such as pgbouncer in transaction pooling mode, have a risk that the security context gets mixed up, since a different connection could run the queries than the one that used the SET command. In those cases using a wrapping transaction together with SET LOCAL is the safest approach.
Performance Implications of using RLS in Postgres
Now, you might wonder - why doesn’t everyone use RLS with their Rails applications?
There are multiple reasons why you might choose not to use RLS in your application, such as the additional complexity and maintenance overhead, or if your data model is not a good fit. One thing we haven’t looked at yet is performance.
First of all, the good news is that Postgres has gotten better over time with considering RLS during query planning, especially since Postgres 10.
However, there are still some things to consider with regards to performance:
- (1) Keep the
USINGclause of RLS policies simple, to avoid non-obvious performance issues - (2) When using custom functions in your queries, ensure to mark them as
LEAKPROOF- this allows the planner to run them early before RLS restrictions apply - (3) Ensure the columns referenced in the RLS policy
USINGclause are indexed
To illustrate that last point, let’s look at the EXPLAIN plan of a query from earlier:
SET rls.customer_id = 1;
EXPLAIN ANALYZE SELECT * FROM transactions;
                                               QUERY PLAN
--------------------------------------------------------------------------------------------------------
 Seq Scan on transactions  (cost=0.00..28.22 rows=4 width=72) (actual time=0.012..0.027 rows=1 loops=1)
   Filter: (customer_id = (NULLIF(current_setting('rls.customer_id'::text, true), ''::text))::bigint)
 Planning Time: 0.073 ms
 Execution Time: 0.094 ms
(4 rows)
As you see Postgres automatically adds the implicit WHERE clause based on the RLS policy that applies. That seems relatively straightforward. However note that we see a Sequential Scan here. Its important to include the columns used by RLS policies in your indices, for example by making a new index on customer_id:
CREATE INDEX ON transactions(customer_id);
Using Postgres monitoring tools such as auto_explain can be very helpful to find outliers that are caused by the bad plans caused by RLS.

Conclusion
In this article, we’ve learned how RLS works in Postgres, and how it can be used with Ruby on Rails. RLS is not complicated to use, but is a separate layer of access control, which may seem non-obvious when you are used to a single database user with full permissions accessing the database. If you decide to use RLS its also a good idea to review the performance implications.
If you prefer to write less SQL yourself, you may want to take a look at the rls_rails library that provides useful helpers for both database migrations as well as setting of the current customer (or tenant) ID.
In case you determined that RLS is too complicated, but you would like a similar guarantee that every query is constrained to a specific tenant, you may want to take a look at activerecord-multi-tenant which automatically rewrites your queries on the Rails side to include a tenant_id, before they get sent to Postgres.
About the Author
Eze is a software developer and technical writer trying to make sense of the world—building amazing stuff and documenting every step of the journey.