
Single Sign-On: Okta integration
pganalyze supports integrating with Okta for Single Sign-On, using Okta’s SAML 2.0 integration.
There are two steps for integrating with Okta:
- Register pganalyze with Okta by creating a new Okta application
- Register the Okta application with pganalyze
Register pganalyze with Okta by creating a new Okta application
Before we go into Okta, we will need access to the SAML settings from pganalyze:
To retrieve the SAML settings specific to your organization, you can navigate to the Integrations settings page in your pganalyze account, where you will see the Single Sign-On with SAML panel.
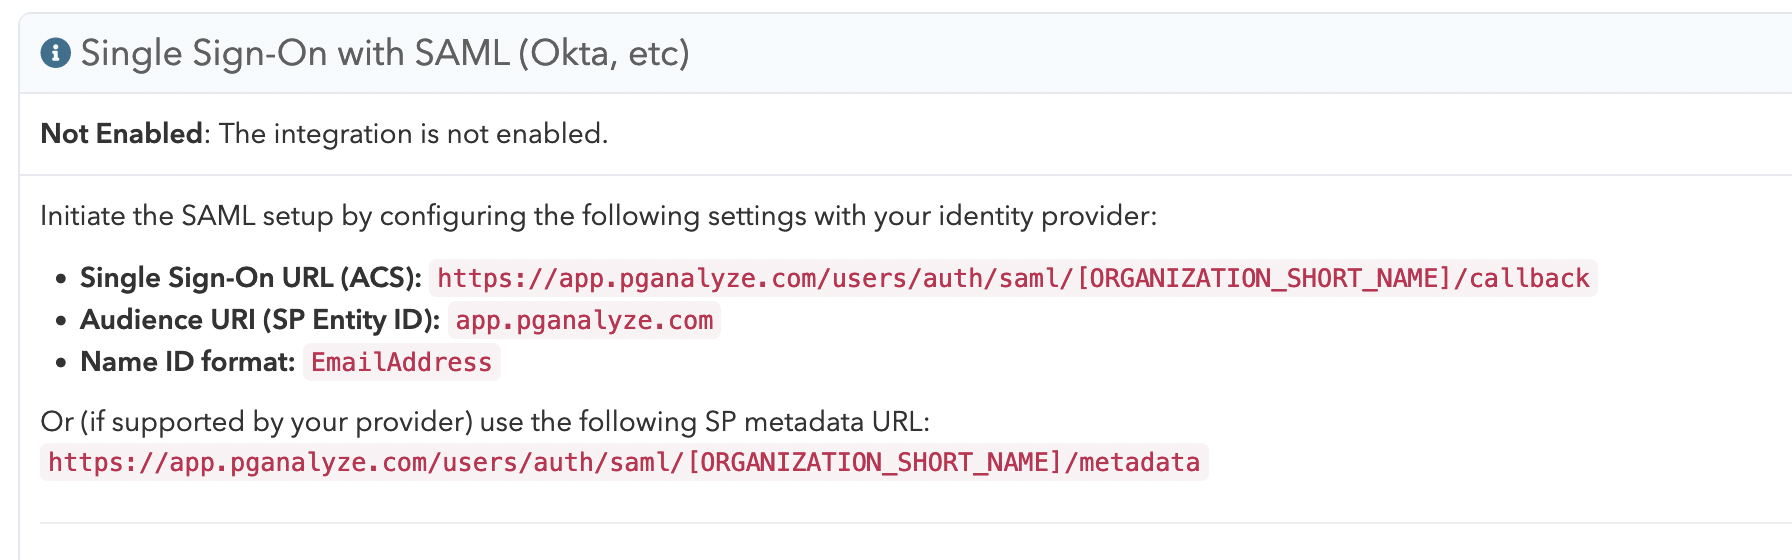
For Okta we will need the Single Sign-On URL (ACS) value.
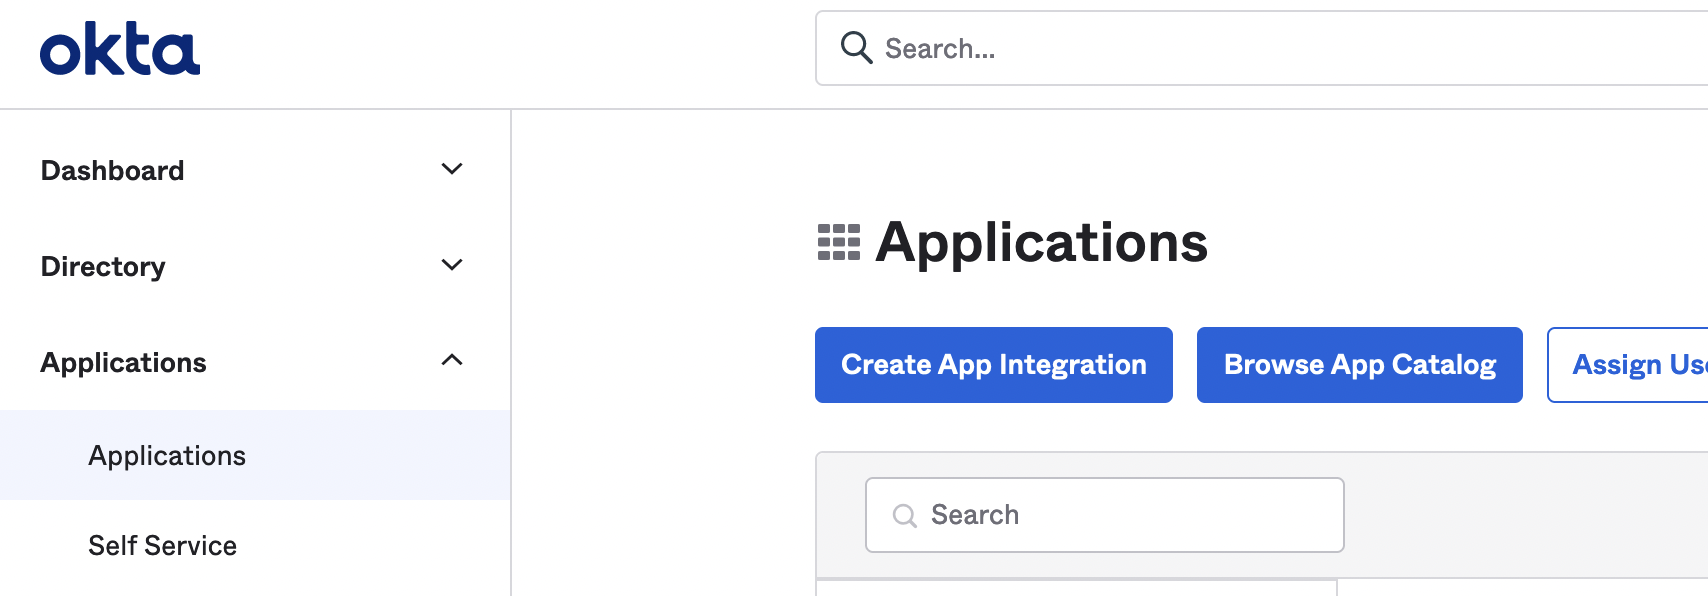
Within your Okta account, change into Admin mode, and add a new application with the Create App Integration button under Applications:
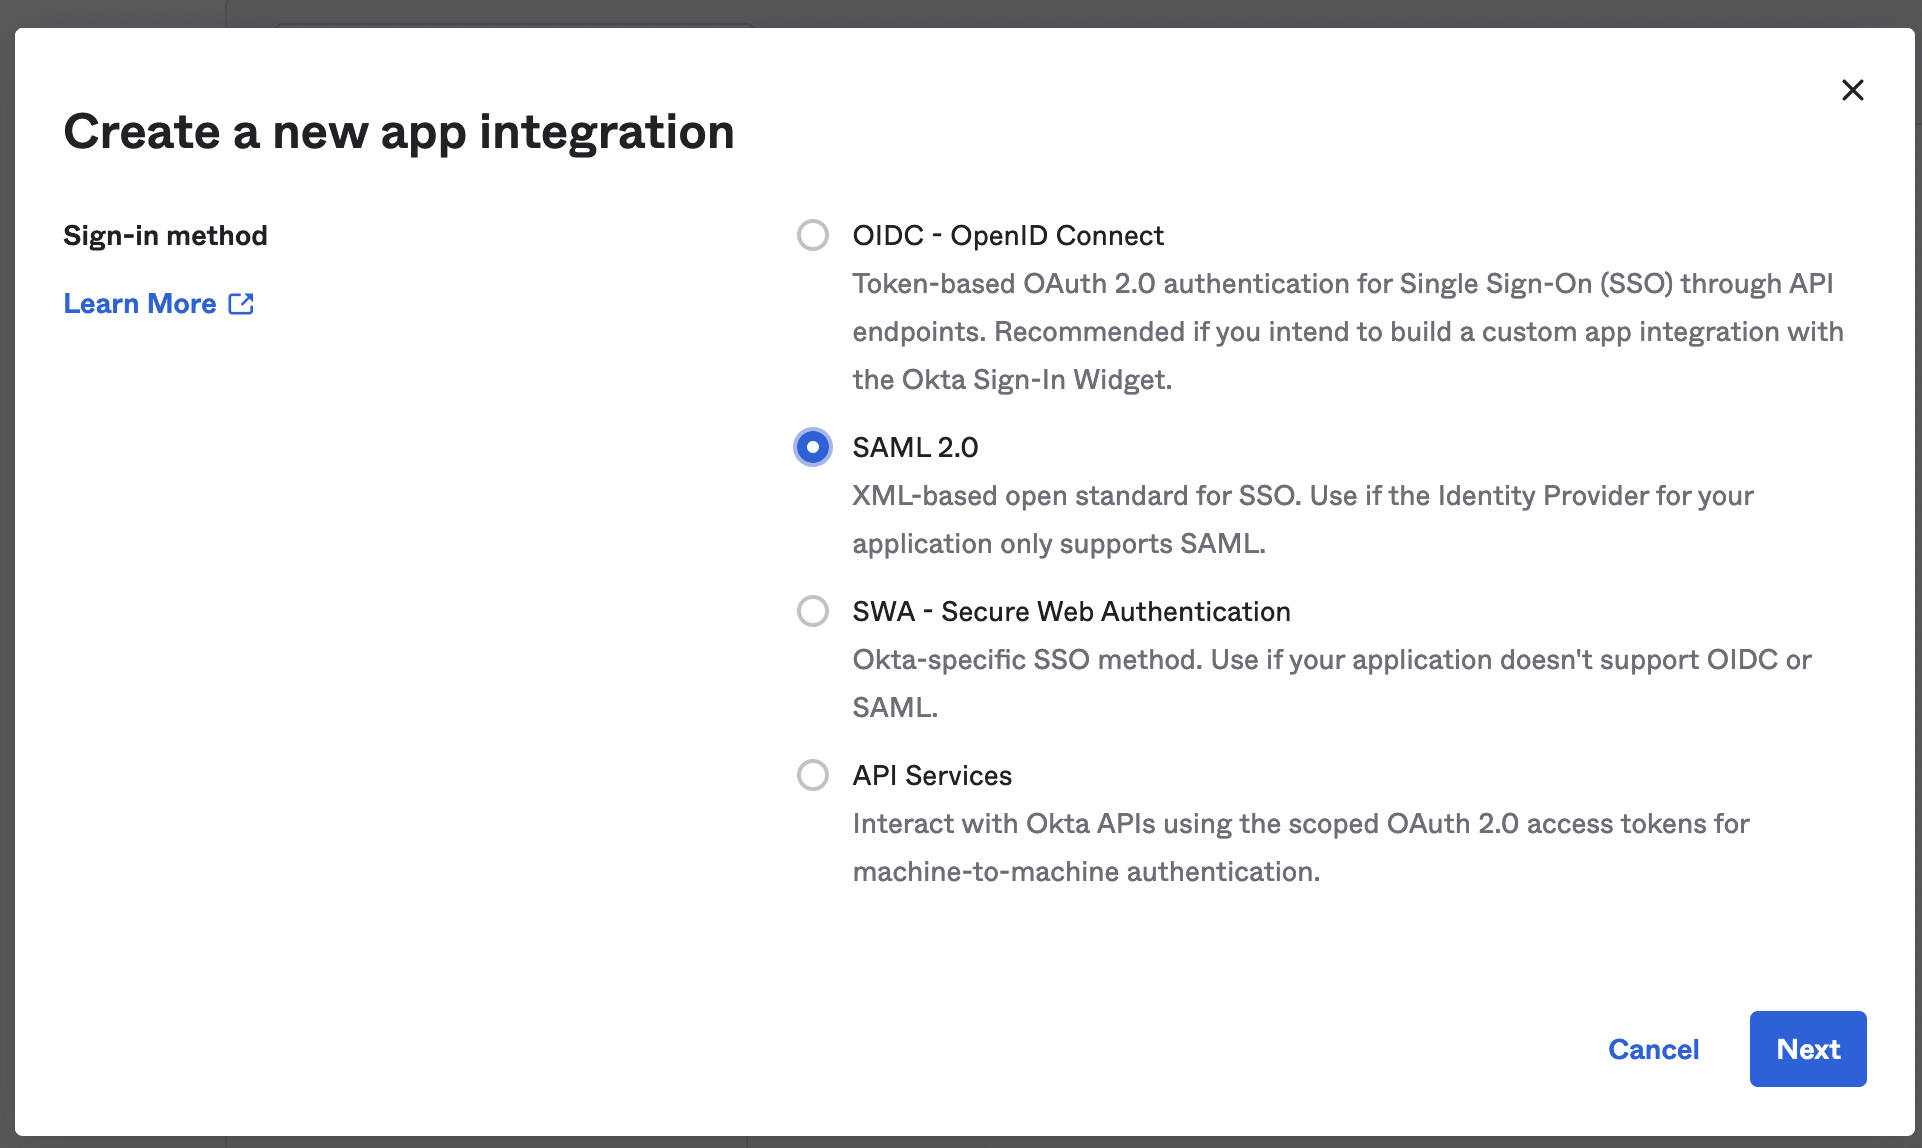
Specify SAML 2.0 as the Sign-in method:
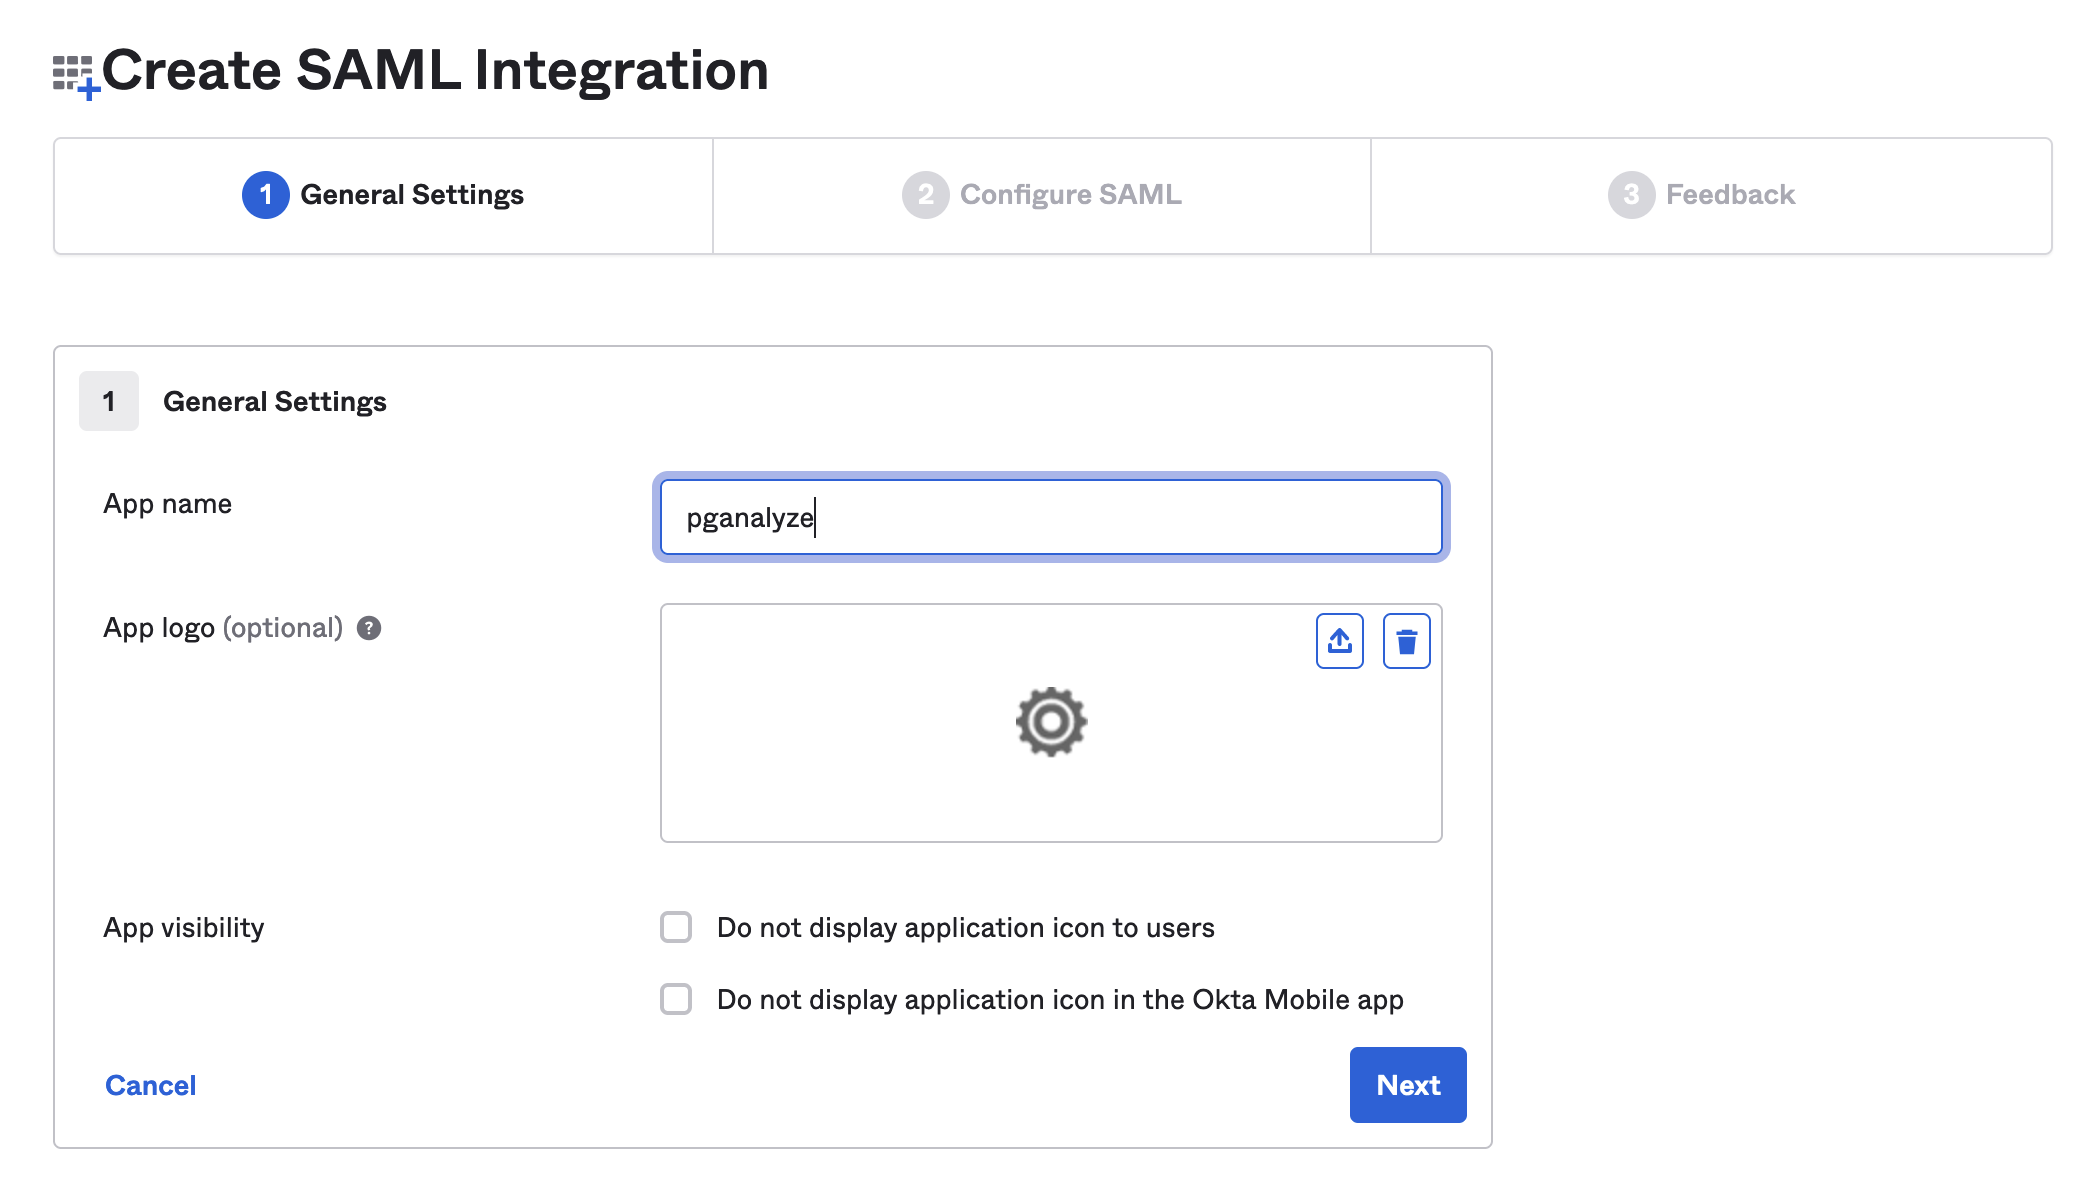
Next you can specify “pganalyze” as the App name:
Continuing, on the Configure SAML screen, you will need to specify a few settings:
- Single sign on URL: Use the
Single Sign-On URL (ACS)setting copied from pganalyze - Audience URI (SP Entity ID): Use
app.pganalyze.com, unless you are using pganalyze Enterprise Server (in which case this needs to match yourDOMAIN_NAMEenvironment variable) - Name ID format: Use
EmailAddress - Attribute Statements:
- (1) Name:
emailand Value:user.email - (2) Name:
nameand Value:String.join(" ", user.firstName, user.lastName)
- (1) Name:
This should now look like this:

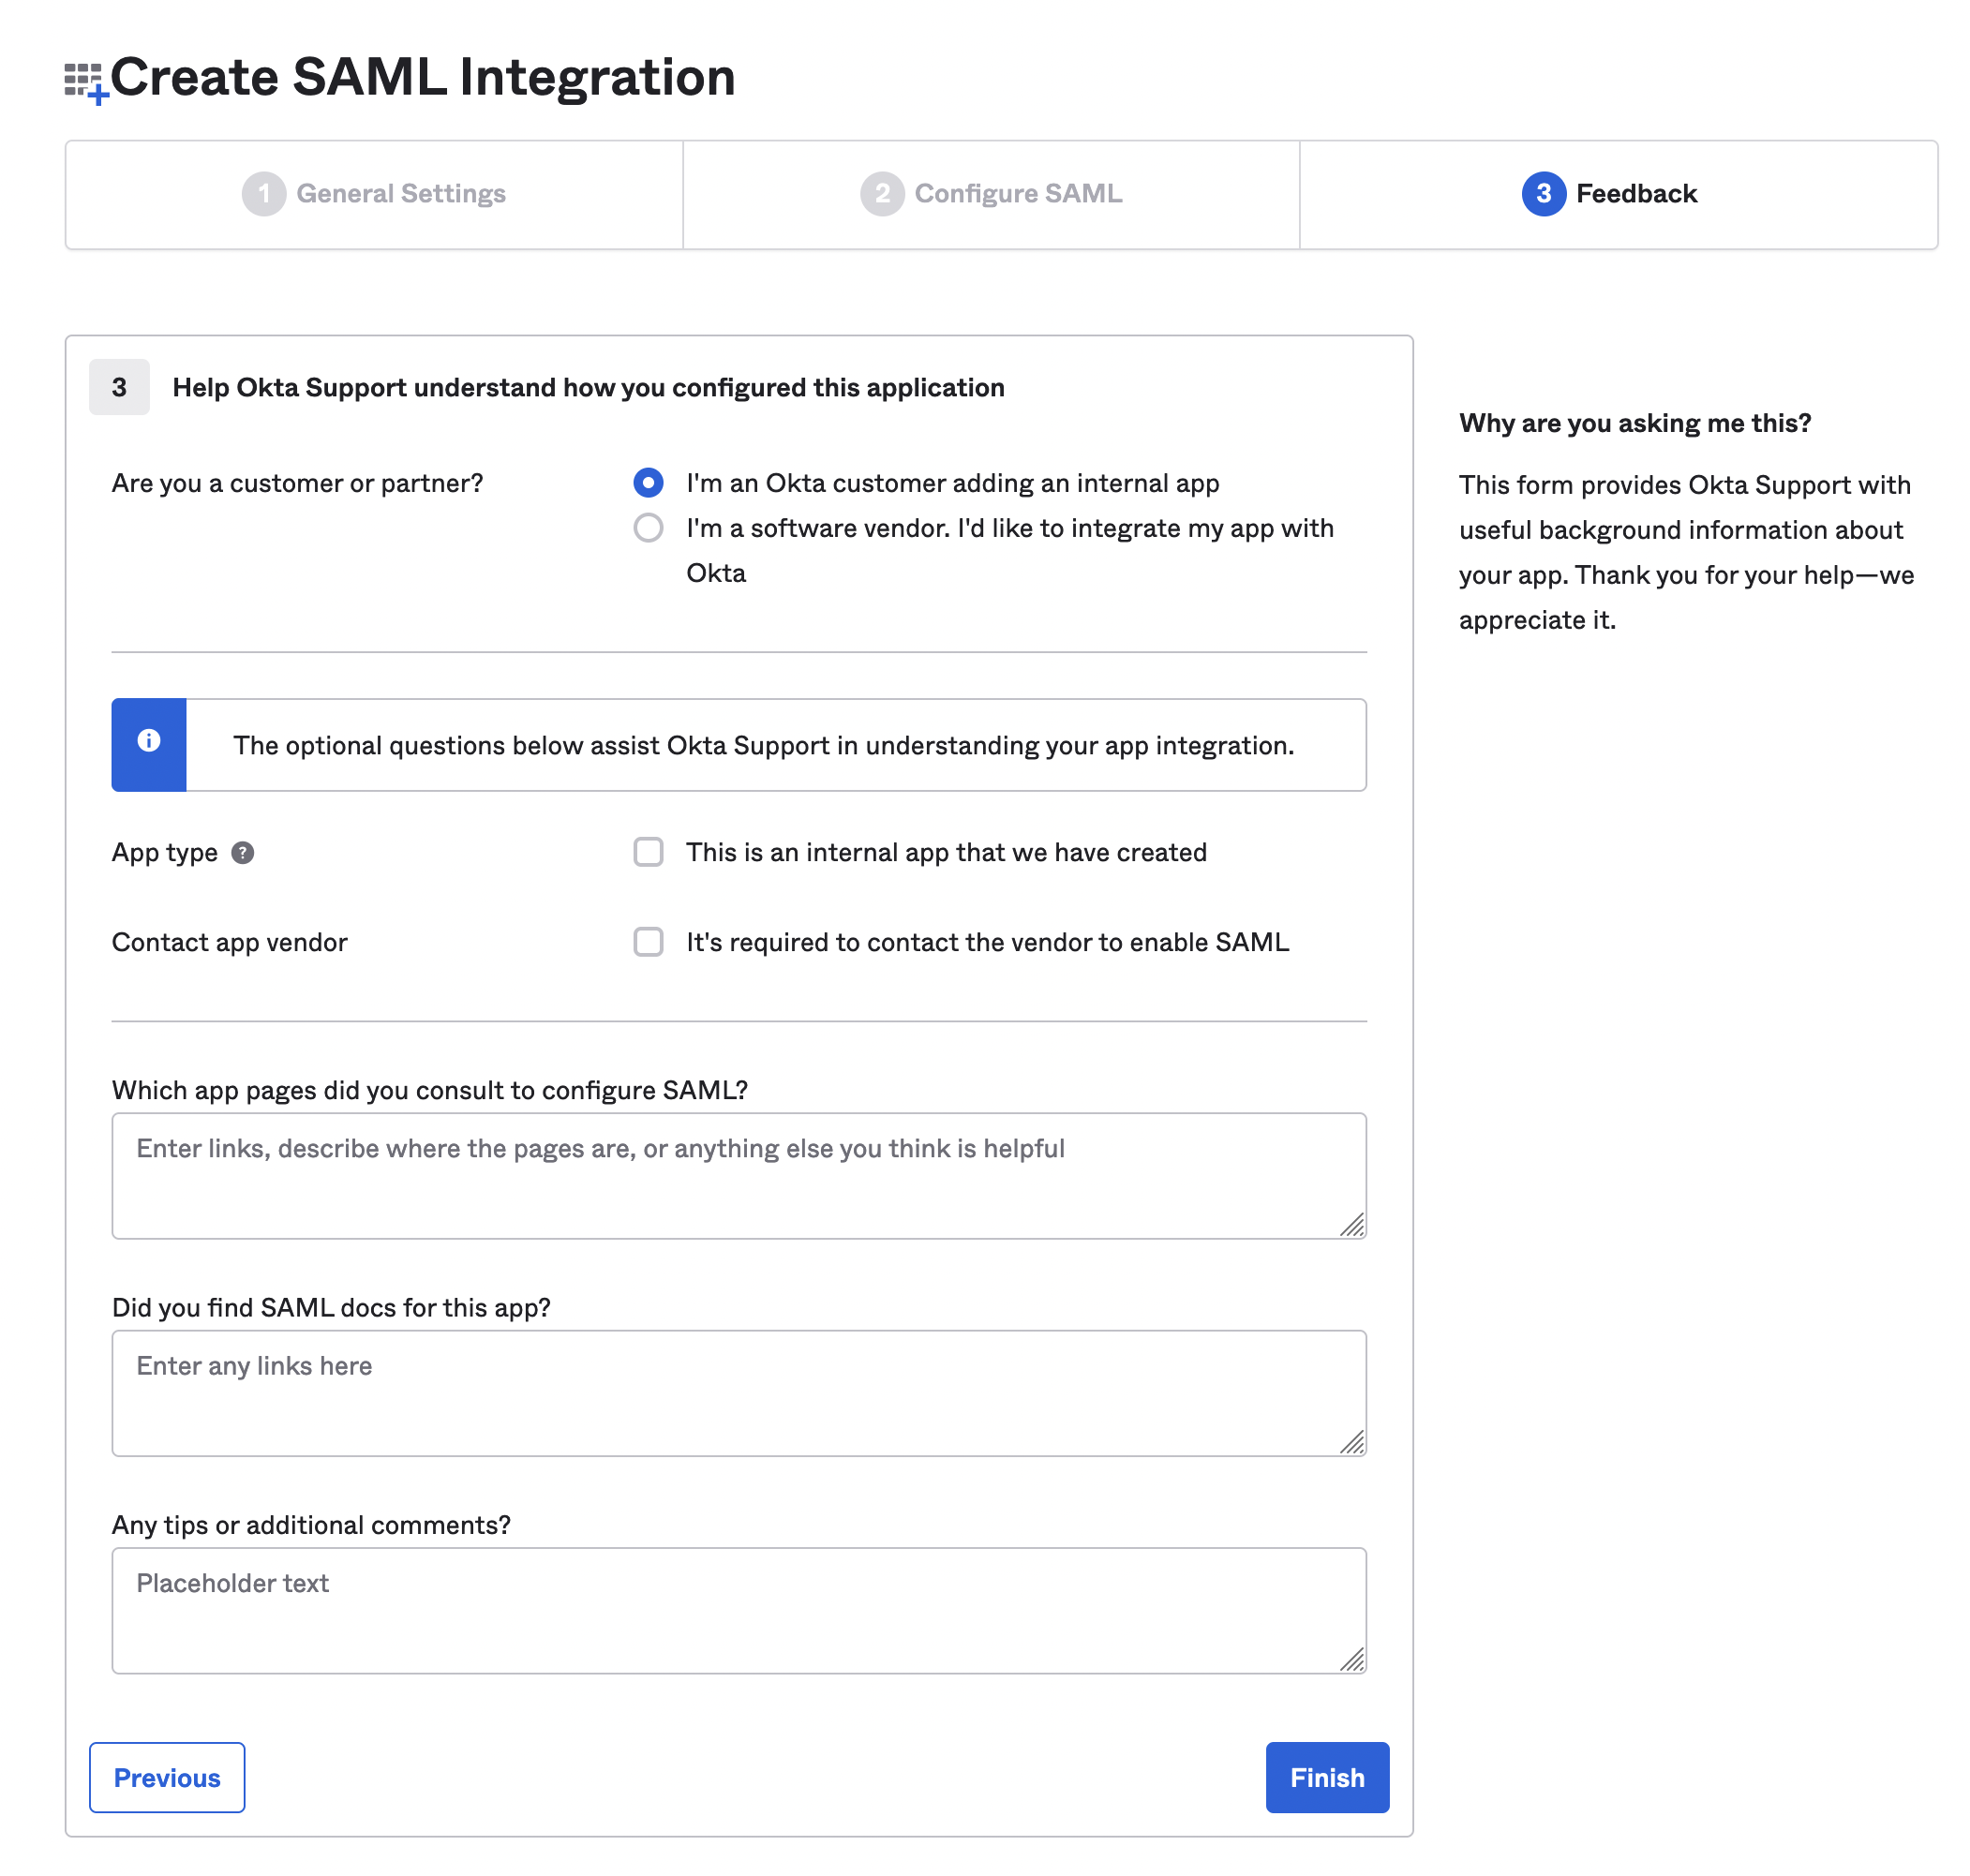
Continue, and on the last screen, select I’m an Okta customer adding an internal app, and complete the setup:
In order to register the Okta application with pganalyze, you will need the Identity Provider metadata URL, which you can find under the Sign On tab:
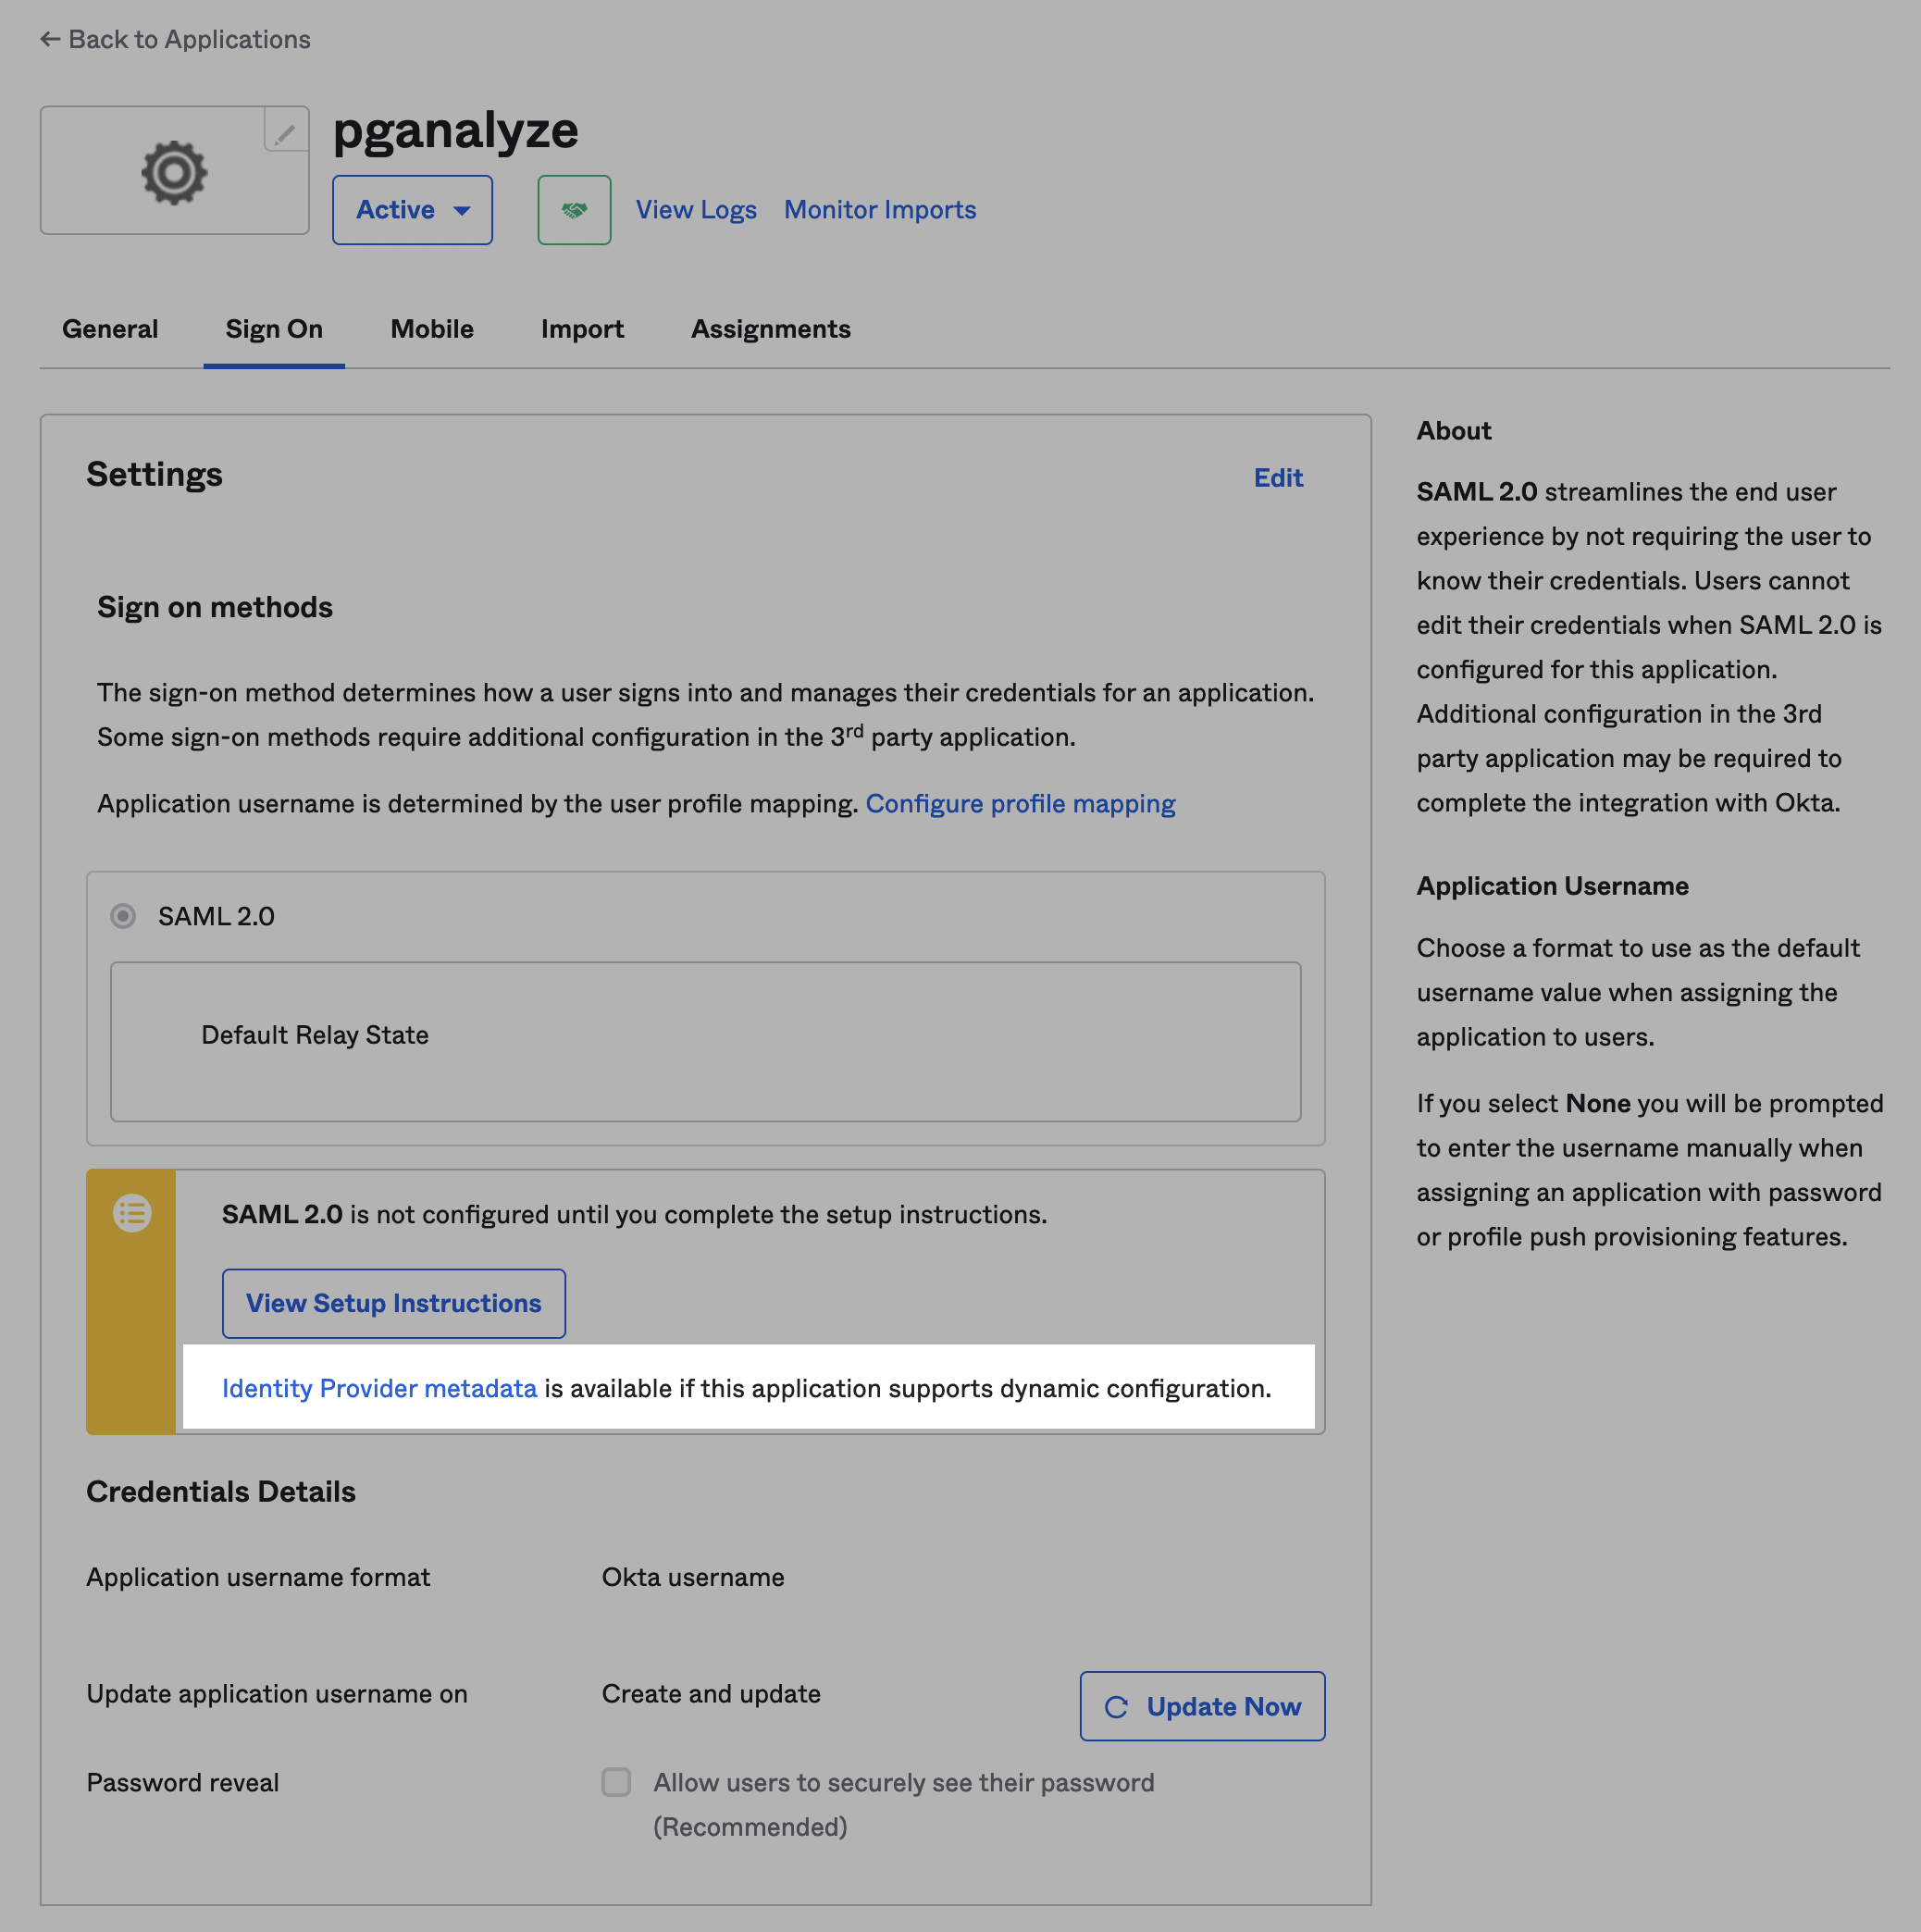
You will need to use your browser’s Copy Link feature to get the URL from the “Identity Provider metadata” link (highlighted in the screenshot).
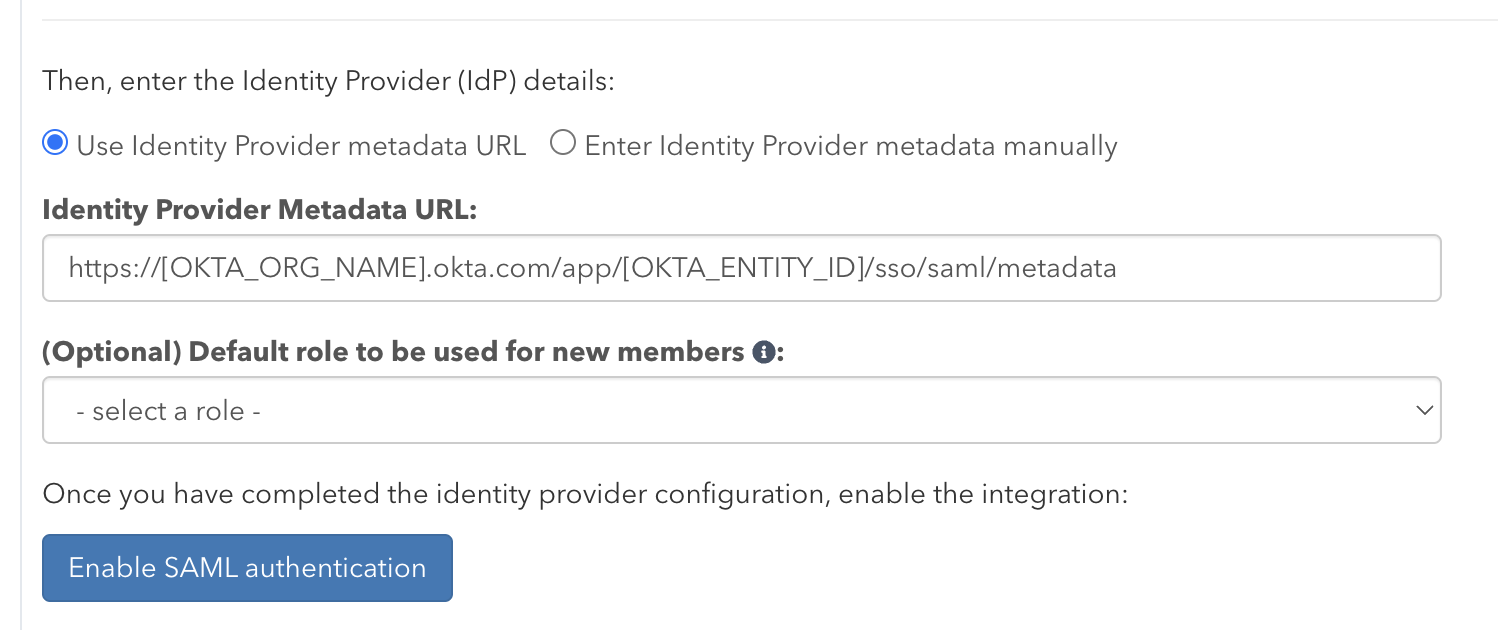
The URL should look like this, with OKTA_ORG_NAME and OKTA_ENTITY_ID having specific values:
https://[OKTA_ORG_NAME].okta.com/app/[OKTA_ENTITY_ID]/sso/saml/metadataRegister the Okta application with pganalyze
Specify the Identity Provider metadata URL in pganalyze on the Integrations settings page:
Once you submit the Metadata URL, pganalyze will verify the configuration, and either provide an error, or show the following indicating successful setup:
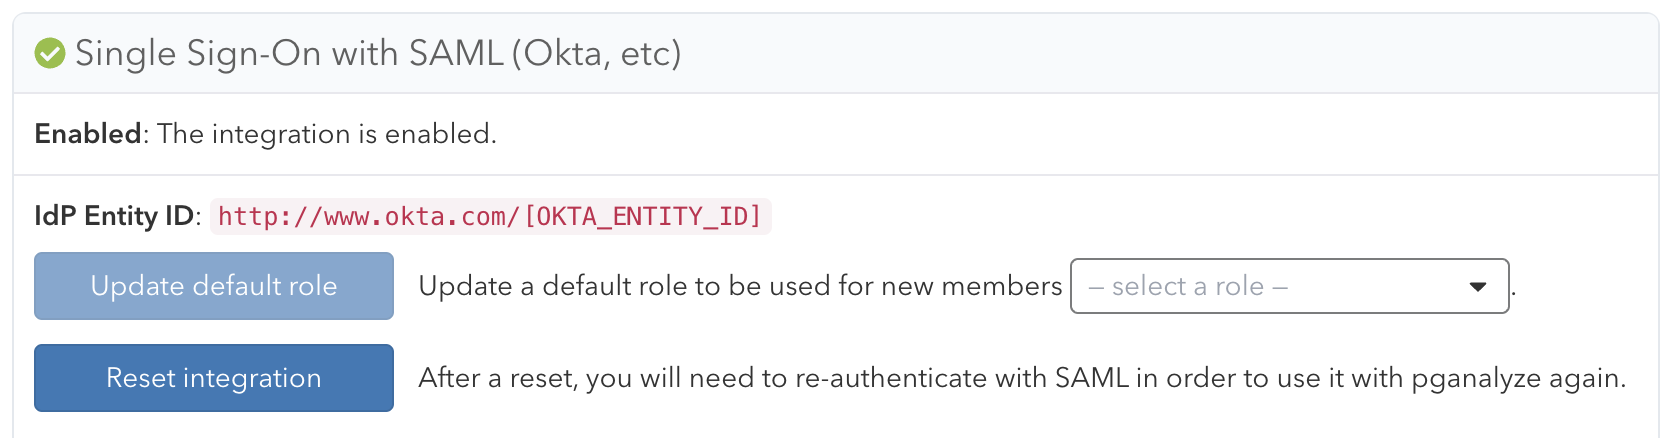
You can now assign the Okta application to the appropriate members of your team. Going forward your team members can now sign in to pganalyze by using the Okta application.
Read more about how to migrate users and general Single Sign-On functionality.
Couldn't find what you were looking for or want to talk about something specific?
Start a conversation with us →