
Enterprise Server: Initial Non-root Setup with Kubernetes
In some environments, running containers as the root user is not acceptable. This guide describes how to set up pganalyze Enterprise Server in a Kubernetes cluster, without running the container as root. This requires using the slim version of the pganalyze Enterprise Docker image and a separate Redis container.
Please note that the slim container image does not contain a built-in pganalyze collector application. Therefore, you will need to have a standalone pganalyze collector running somewhere with access to your PostgreSQL instances once you have finished setting up the Enterprise Server Kubernetes deployment.
- Installation steps
- Pre-requisites
- Step 1: Accessing the pganalyze Enterprise Slim Docker image
- Step 2: Set up a Kubernetes secret for configuration settings
- Step 3: Create the pganalyze Enterprise Slim deployment
- Step 5: Run the Enterprise self check to verify the configuration and license
- Step 6: Initialize the database
- Step 7: Log in to pganalyze
- Step 8: Add your first database server to pganalyze
- Next steps
- Appendix: How to apply config changes
Installation steps
Pre-requisites
- A standalone Postgres database to store pganalyze statistics information
- Kubernetes CLI (
kubectl) installed on your machine, and logged into the Kubernetes cluster with full permissions
Step 1: Accessing the pganalyze Enterprise Slim Docker image
As with any Kubernetes deployment, the pganalyze Enterprise container image needs to be accessible from within the cluster. You can do this by either pulling the image directly from Quay.io, or by re-publishing the image to your own private container registry. In both cases you will need to authenticate with your license information, shared with you by the pganalyze team.
Option A: Create a Kubernetes secret for accessing Quay.io
If your Kubernetes cluster has access to the internet, start by creating a Kubernetes secret with your quay.io credentials provided by the pganalyze team. Replace the username, password, and namespace in the command below:
kubectl create secret docker-registry quay-io-secret \
 --docker-server=quay.io \
 --docker-username=USERNAME \
 --docker-password=PASSWORD \
 --namespace=pganalyze
Option B: Re-publish the Docker image to your private container registry
Alternatively, if your server has restricted connectivity, you can perform the next steps on a machine that has full internet connectivity, e.g your personal machine, or a VM, with no outbound access restrictions.
The goal of this option is to publish the pganalyze Enterprise Slim container image to your private Container Registry, typically in AWS, GCP, or Azure, depending on which hosting provider your Kubernetes cluster is running on. In the examples below, we will use AWS Elastic Container Registry (ECR) as an example. However, the steps are similar for other providers with their provided registries and CLI tooling.
First, log in with your license information, shared with you by the pganalyze team:
docker login -e="." -u="pganalyze+enterprise_customer" -p="YOUR_PASSWORD" quay.ioNow pull the image, replacing VERSION with the latest pganalyze Enterprise version (e.g. v2025.03.4):
docker pull quay.io/pganalyze/enterprise:VERSION-slimCreate a new container repository for pganalyze in the account-specific AWS container registry:
aws ecr create-repository --repository-name pganalyze-enterprise-slimLog in to the AWS container registry, replacing ACCOUNTID with your AWS account ID, replacing REGION with your AWS region (e.g. “us-west-1”):
aws ecr get-login-password --region REGION | docker login --username AWS --password-stdin ACCOUNTID.dkr.ecr.REGION.amazonaws.comNow tag the pganalyze image with the correct prefix for the AWS registry - make sure to replace the values (ACCOUNTID, REGION, VERSION) here:
docker tag quay.io/pganalyze/enterprise:VERSION-slim ACCOUNTID.dkr.ecr.REGION.amazonaws.com/pganalyze-enterprise:VERSION-slimAnd now push the tag to the registry:
docker push ACCOUNTID.dkr.ecr.REGION.amazonaws.com/pganalyze-enterprise:VERSIONStep 2: Set up a Kubernetes secret for configuration settings
You can manage Kubernetes secrets using kubectl.
There are two sensitive settings, DATABASE_URL and LICENSE_KEY that we store using a Kubernetes secret.
The DATABASE_URL has the format postgres://USERNAME:PASSWORD@HOSTNAME:PORT/DATABASE and specifies the connection used for storing the pganalyze statistics data. We recommend using an administrative user on the statistics database for this connection.
The LICENSE_KEY has been provided to you by the pganalyze Team - replace KEYKEYKEY in the command with the actual key.
kubectl create secret generic pganalyze-secret \
    --from-literal=DATABASE_URL=postgres://USERNAME:PASSWORD@HOSTNAME:PORT/DATABASE \
    --from-literal=LICENSE_KEY=KEYKEYKEY \
    --dry-run=client -o yaml | kubectl apply -f -
Step 3: Create the pganalyze Enterprise Slim deployment
When you are required to use the pganalyze Enterprise Server Slim image, the Kubernetes cluster must also include a Redis container that runs alongside of the
pganalyze web and worker pods. The following YAML sample assumes that the pganalyze namespace has already been created. Applying this sample YAML creates:
- a Redis server accessible on port 6379
- a pganalyze pod running as the “web” application running as a non-root user
- a pganalyze pod running as the “worker” application for running background tasks such as Index Advisor, running as a non-root user
- a sample ConfigMap for environment variable configuration
- references to the quay.io secret created earlier
Save this sample to a text a file named pganalyze-enterprise-slim.yml and modify it as needed.
apiVersion: v1
kind: ConfigMap
metadata:
name: pganalyze-config
namespace: pganalyze
data:
REDIS_URL: "redis://redis.pganalyze.svc.cluster.local:6379/0"
apiVersion: apps/v1
kind: Deployment
metadata:
name: pganalyze-redis
namespace: pganalyze
spec:
replicas: 1
selector:
matchLabels:
app: pganalyze
role: redis
template:
metadata:
labels:
app: pganalyze
role: redis
spec:
securityContext:
runAsNonRoot: true
runAsUser: 1000
containers:
- name: redis
image: redis:7-alpine
ports:
- containerPort: 6379
args: ["--appendonly", "yes"]
readinessProbe:
tcpSocket: { port: 6379 }
initialDelaySeconds: 3
periodSeconds: 5
livenessProbe:
tcpSocket: { port: 6379 }
initialDelaySeconds: 10
periodSeconds: 10
apiVersion: v1
kind: Service
metadata:
name: redis
namespace: pganalyze
spec:
selector:
app: pganalyze
role: redis
ports:
- name: redis
port: 6379
targetPort: 6379
type: ClusterIP
apiVersion: apps/v1
kind: Deployment
metadata:
name: pganalyze-web
namespace: pganalyze
spec:
replicas: 1
selector:
matchLabels:
app: pganalyze
role: web
template:
metadata:
labels:
app: pganalyze
role: web
spec:
securityContext:
runAsNonRoot: true
runAsUser: 1000
initContainers:
- name: wait-for-redis
image: busybox:1.36
command: ['sh', '-c', 'until nc -z redis 6379; do echo "waiting for redis"; sleep 1; done']
containers:
- name: web
image: quay.io/pganalyze/enterprise:VERSION-slim
args: ["web"]
envFrom:
- configMapRef:
name: pganalyze-config
- secretRef:
name: pganalyze-secret
ports:
- name: http
containerPort: 5000
imagePullSecrets:
- name: quay-io-secret
apiVersion: apps/v1
kind: Deployment
metadata:
name: pganalyze-worker
namespace: pganalyze
spec:
replicas: 1
selector:
matchLabels:
app: pganalyze
role: worker
template:
metadata:
labels:
app: pganalyze
role: worker
spec:
securityContext:
runAsNonRoot: true
runAsUser: 1000
initContainers:
- name: wait-for-redis
image: busybox:1.36
command: ['sh', '-c', 'until nc -z redis 6379; do echo "waiting for redis"; sleep 1; done']
containers:
- name: worker
image: quay.io/pganalyze/enterprise:VERSION-slim
args: ["worker"]
envFrom:
- configMapRef:
name: pganalyze-config
- secretRef:
name: pganalyze-secret
imagePullSecrets:
- name: quay-io-secret
apiVersion: v1
kind: Service
metadata:
name: pganalyze-web
namespace: pganalyze
labels:
app: pganalyze
role: web
spec:
selector:
app: pganalyze
role: web
ports:
- name: http
port: 5000
targetPort: 5000
type: ClusterIP
Now deploy the pganalyze Enterprise application:
kubectl apply -f pganalyze-enterprise-slim.ymlWe can confirm the deployment is completed by checking kubectl get deploy. Change the namespace if you used something other than pganalyze:
kubectl get deploy -n pganalyzeNAME READY UP-TO-DATE AVAILABLE AGE
pganalyze-web 1/1 1 1 3d1h
pganalyze-worker 1/1 1 1 3d1h
pganalyze-redis 1/1 1 1 3d1hStep 5: Run the Enterprise self check to verify the configuration and license
Run the following command to perform the Enterprise self-check:
kubectl exec -i -t deploy/pganalyze-web -- /docker-entrypoint.enterprise.sh rake enterprise:self_checkThis should return the following:
Testing database connection... Success!
Testing Redis connection... Success!
Skipping SMTP mailer check - configure MAILER_URL to enable mail sending
Verifying enterprise license... Success!

All tests completed successfully!
If you see an error, double check your configuration settings, and especially the database connections.
In case you get an error for the license verification, please reach out to the pganalyze team.
Step 6: Initialize the database
Run the following to initialize the pganalyze statistics database:
kubectl exec -i -t deploy/pganalyze-web -- /docker-entrypoint.enterprise.sh rake db:structure:loadDatabase 'postgres' already exists
set_config
------------
(1 row)Then run the following to create the initial admin user:
kubectl exec -i -t deploy/pganalyze-web -- /docker-entrypoint.enterprise.sh rake db:seedAnd note down the credentials that are returned:
INFO -- : *****************************
INFO -- : *** INITIAL ADMIN CREATED ***
INFO -- : *****************************
INFO -- :
INFO -- : *****************************
INFO -- : Email:    admin@example.com
INFO -- : Password: PASSWORDPASSWORD
INFO -- : *****************************
INFO -- :
INFO -- : Use these credentials to login and then change email address and password.
Now we can connect to the pganalyze UI. Depending on how you configured the service ports for the pganalyze-web pod, you may have to first create a port forwarding entrypoint. For hosting providers
that support load balancers, you can also create a load balancer service for the pganalyze-web service.
When you go to the hostname in your browser you should see the login page. You can now use the initial admin details to log in:
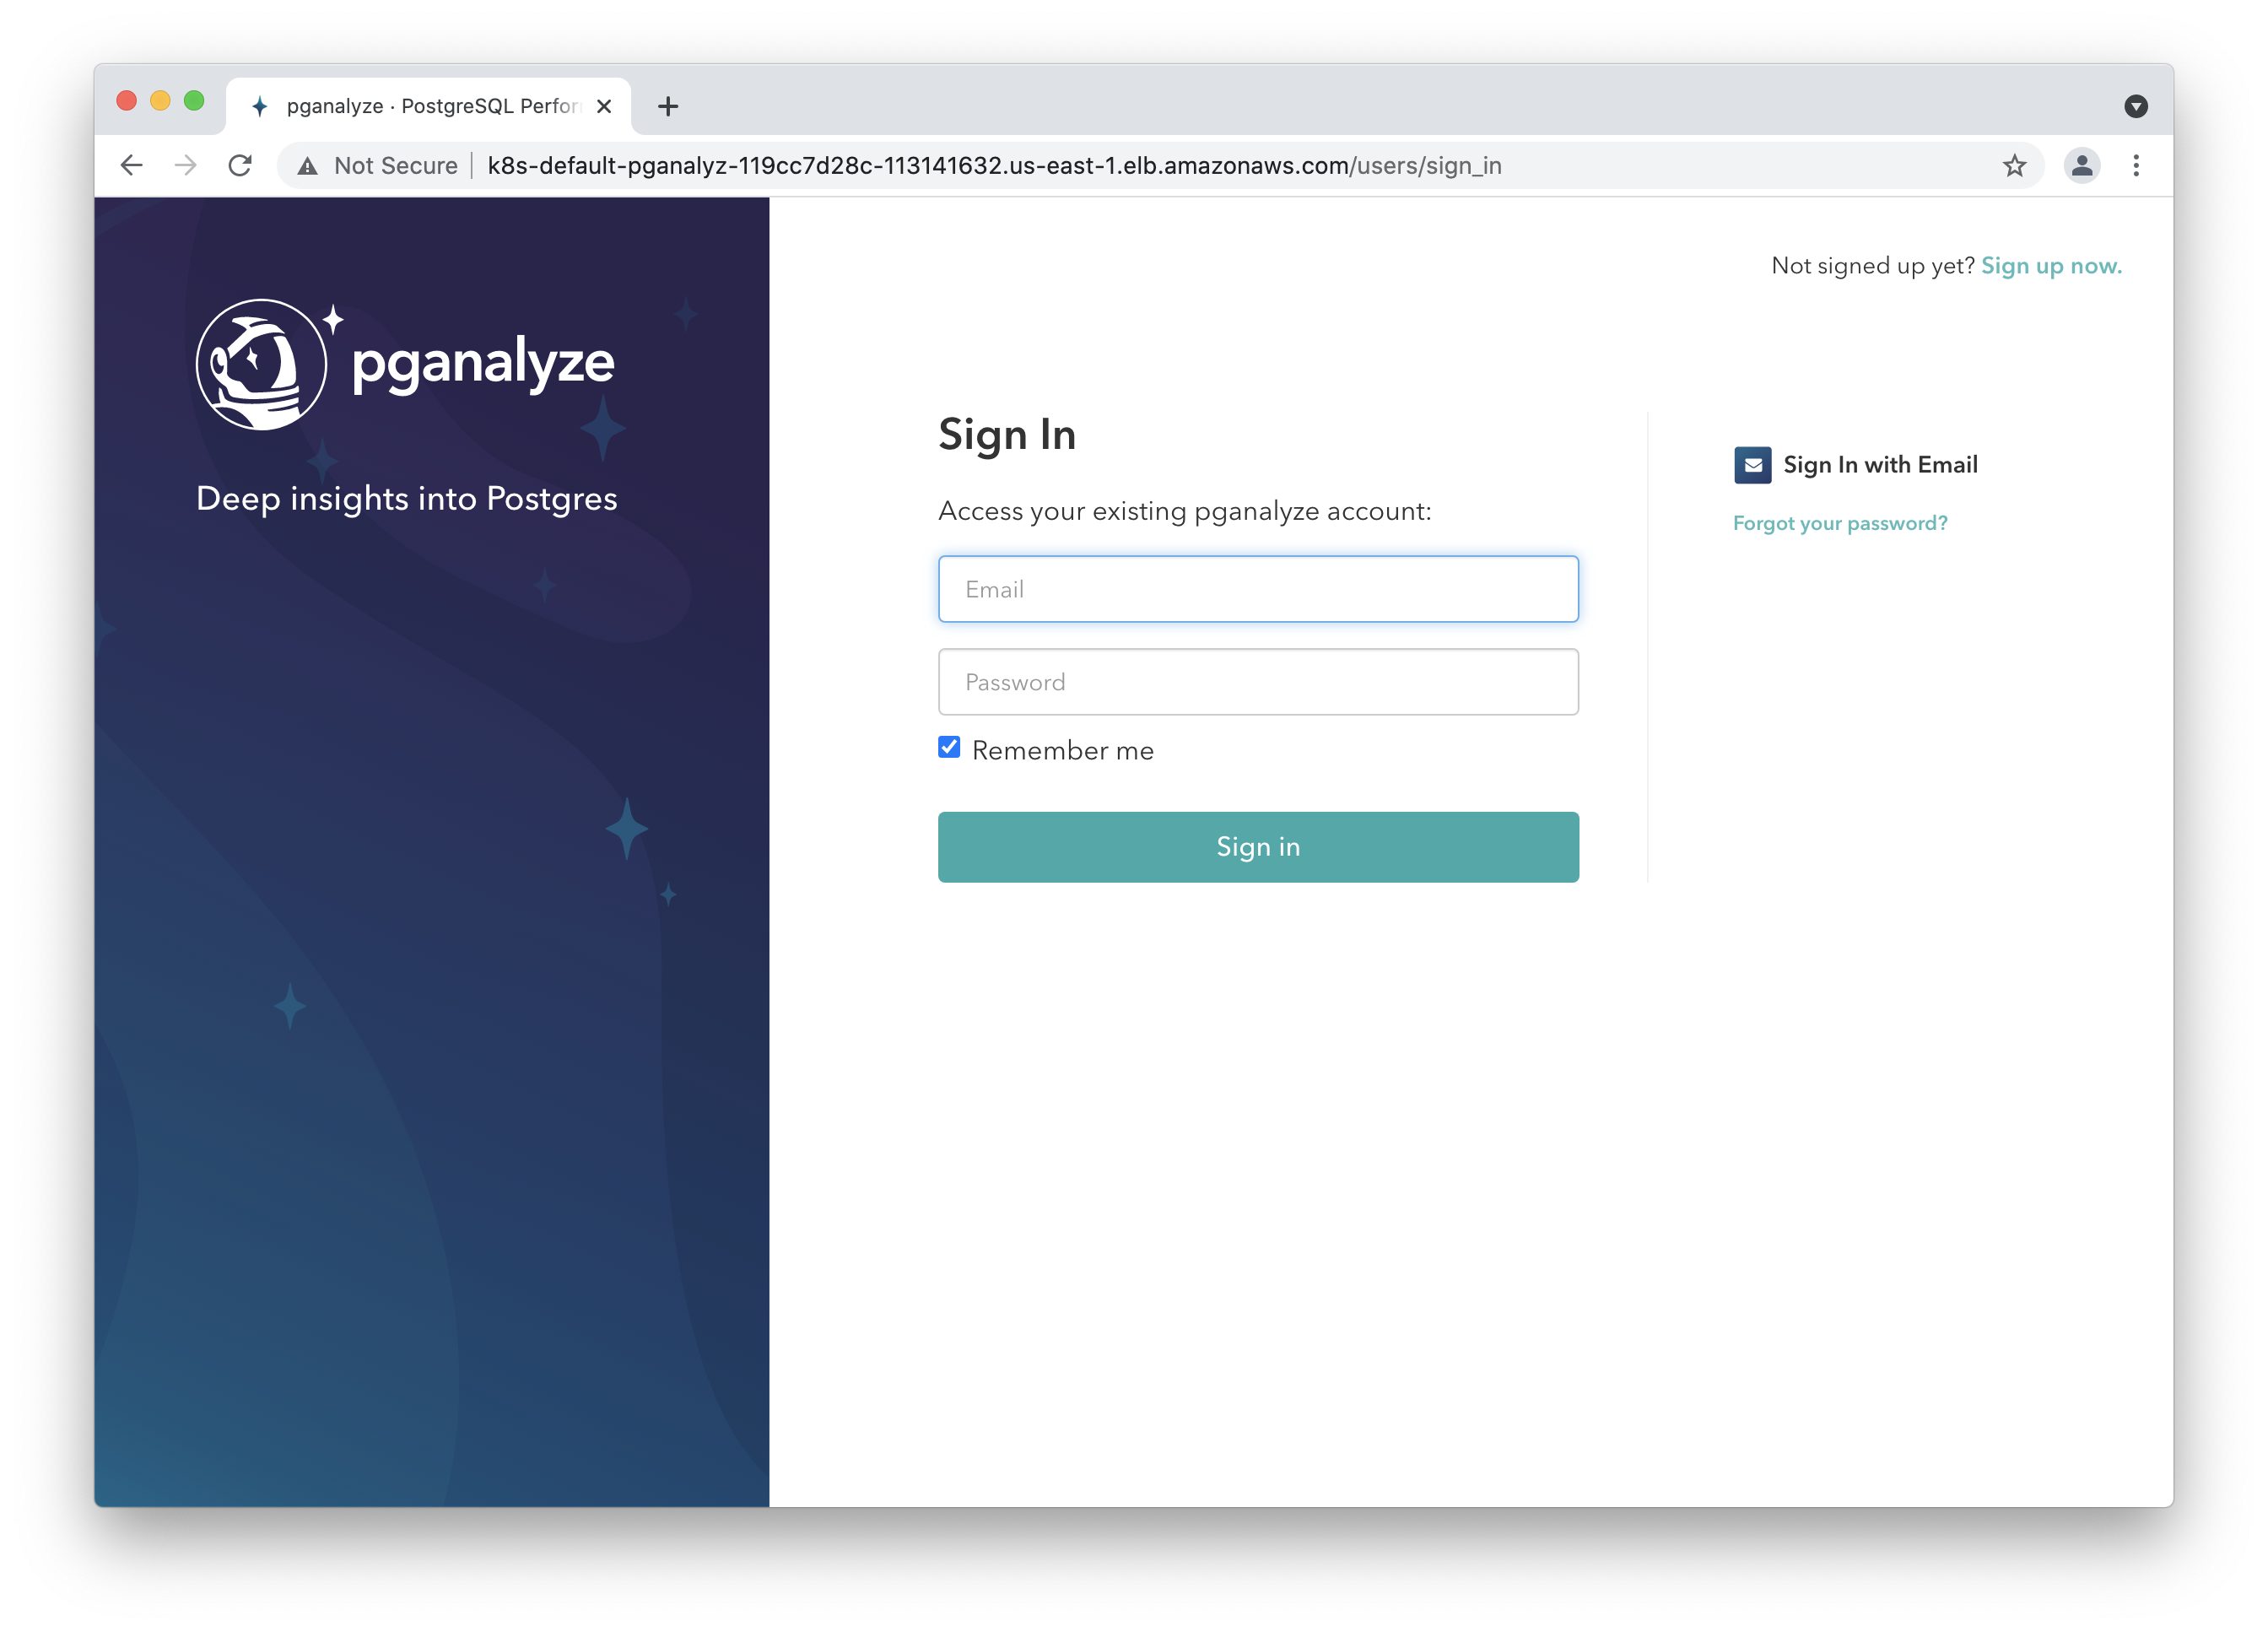
Step 7: Log in to pganalyze
Please now log in to the pganalyze interface using the generated credentials you’ve seen earlier when setting up the database. If successful you should see this screen:
If authentication does not work, or you see an error message, please check the container’s logs using kubectl logs deploy/pganalyze-web.
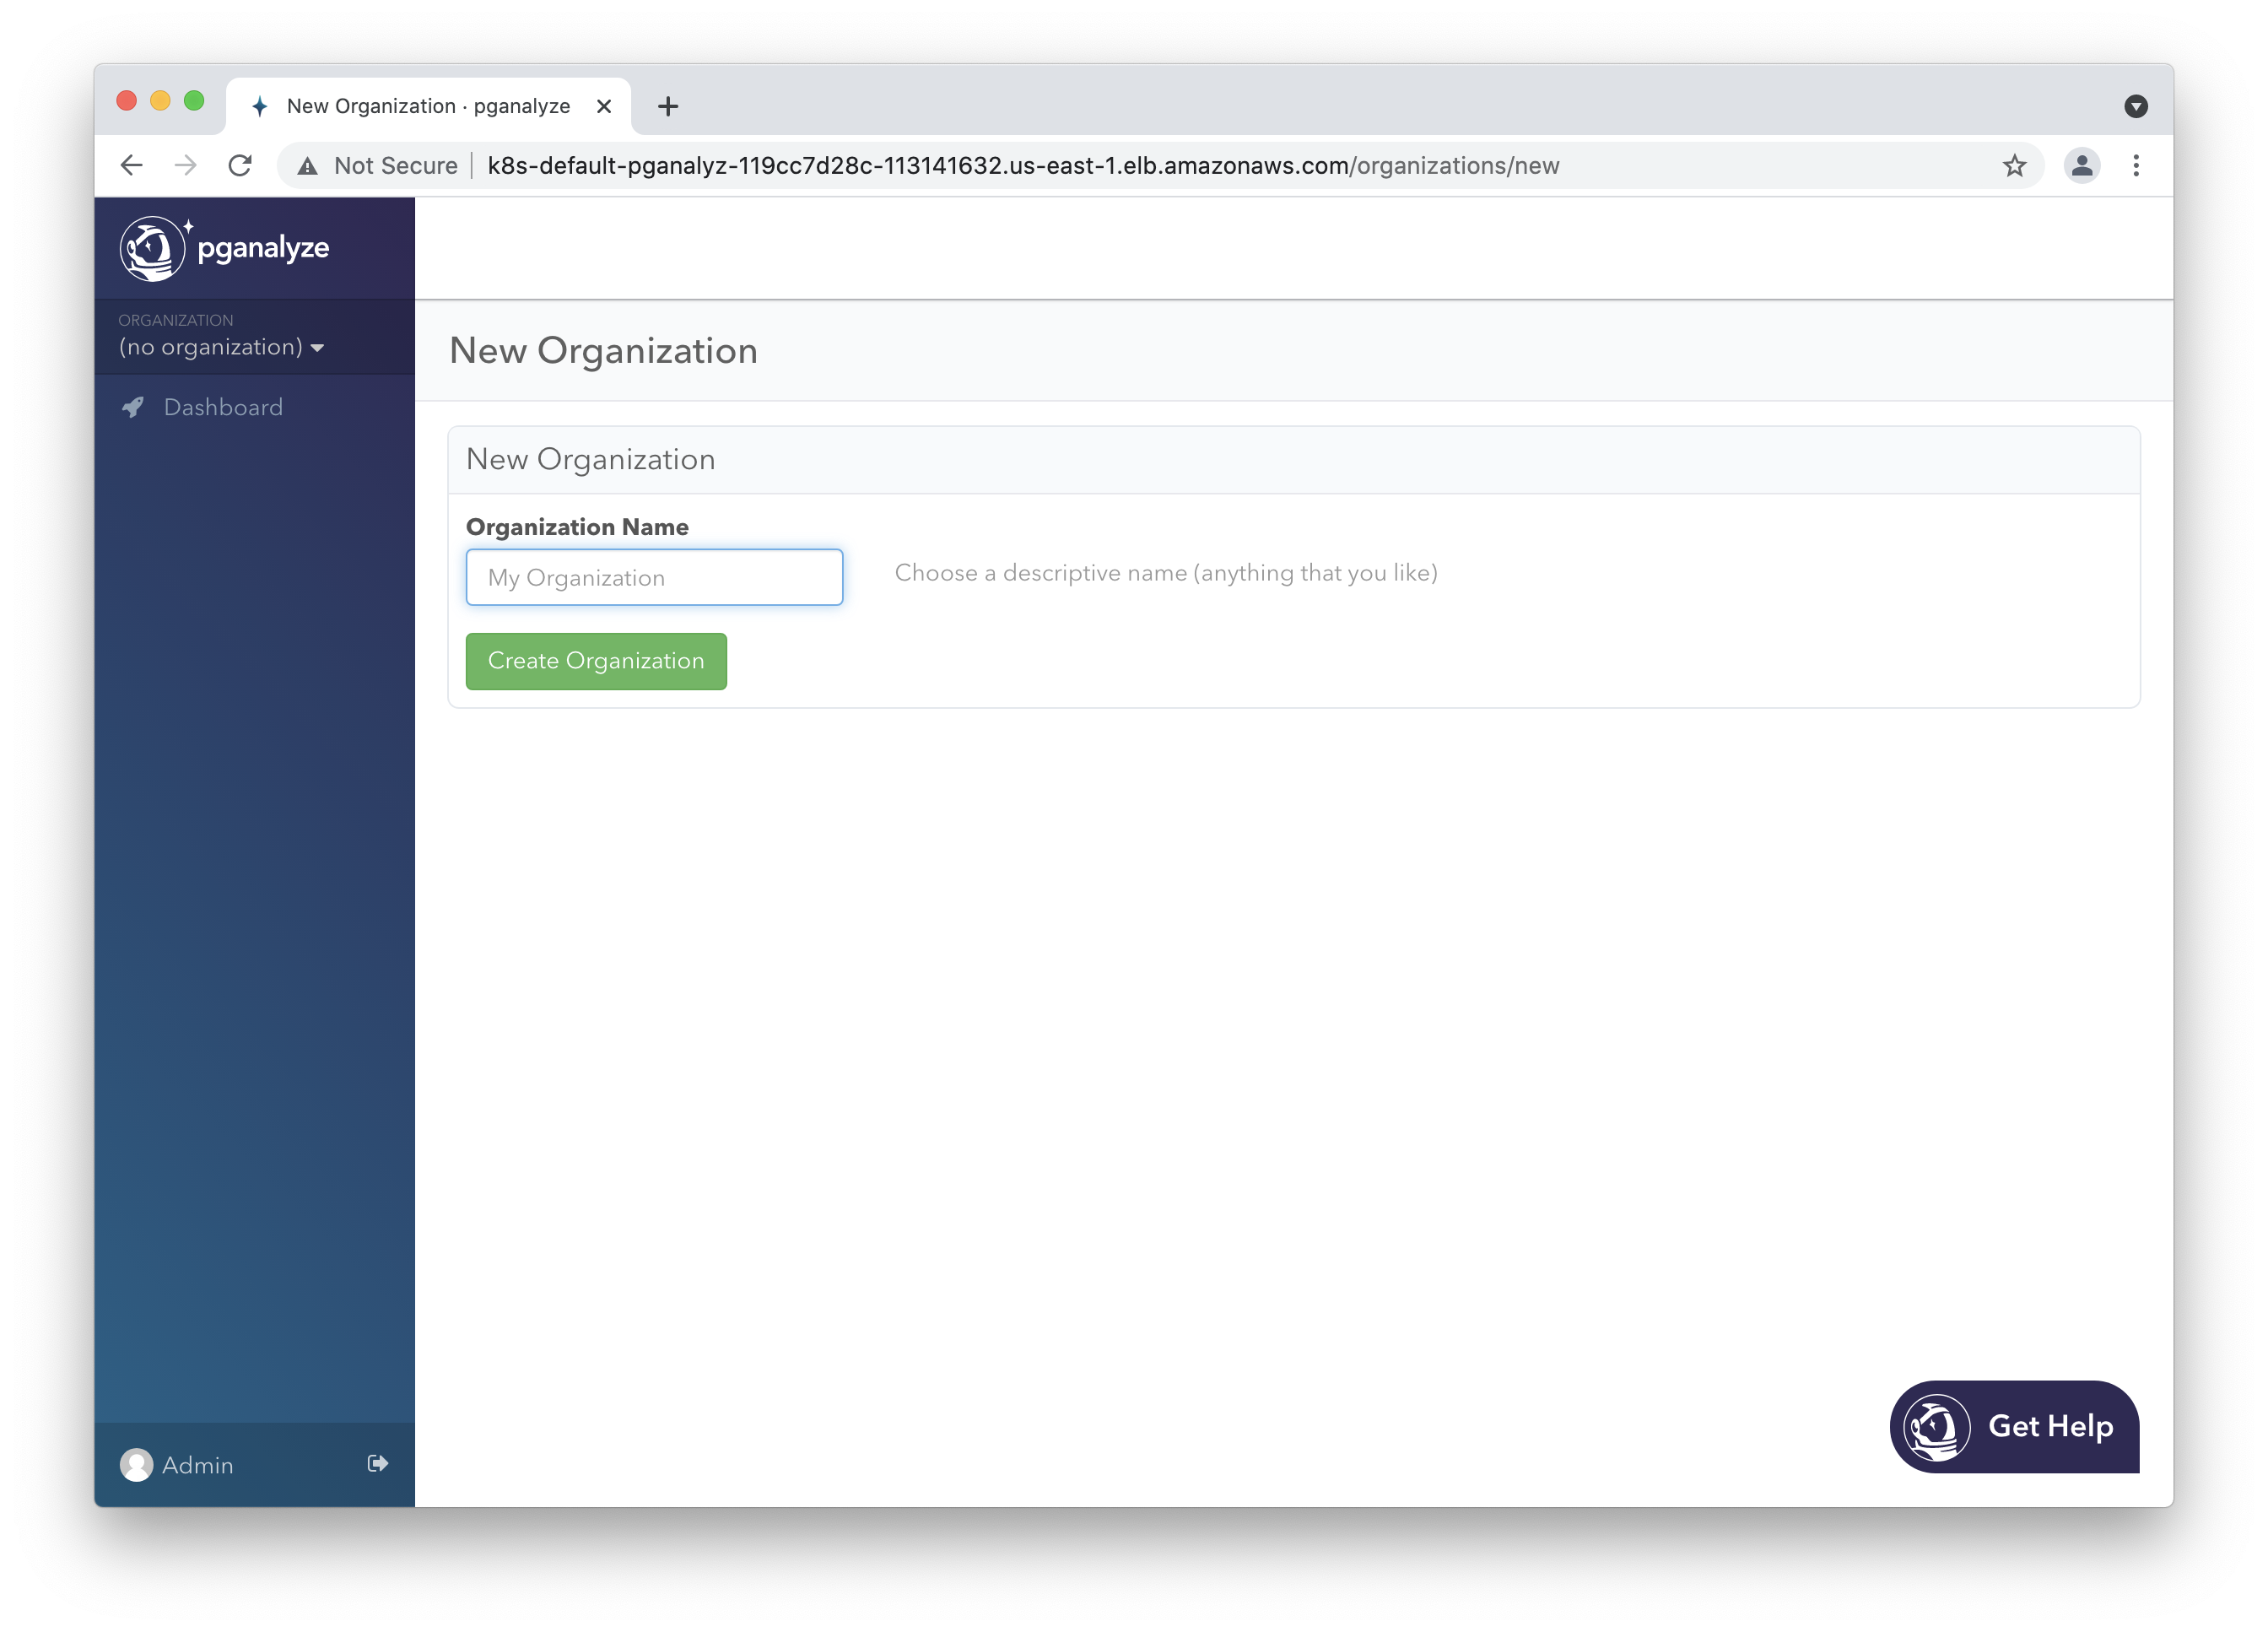
Choose an organization name of your choice (typically your company name).
Step 8: Add your first database server to pganalyze
The pganalyze Collector is not included in the Enterprise Server Slim image, so you will need to run it separately. After selecting the “Add Server” button at the bottom of the server selection dropdown, select the “Any Supported Provider” button to get started. Choosing any option under the “Collector inside pganalyze Enterprise Server container” will not work.
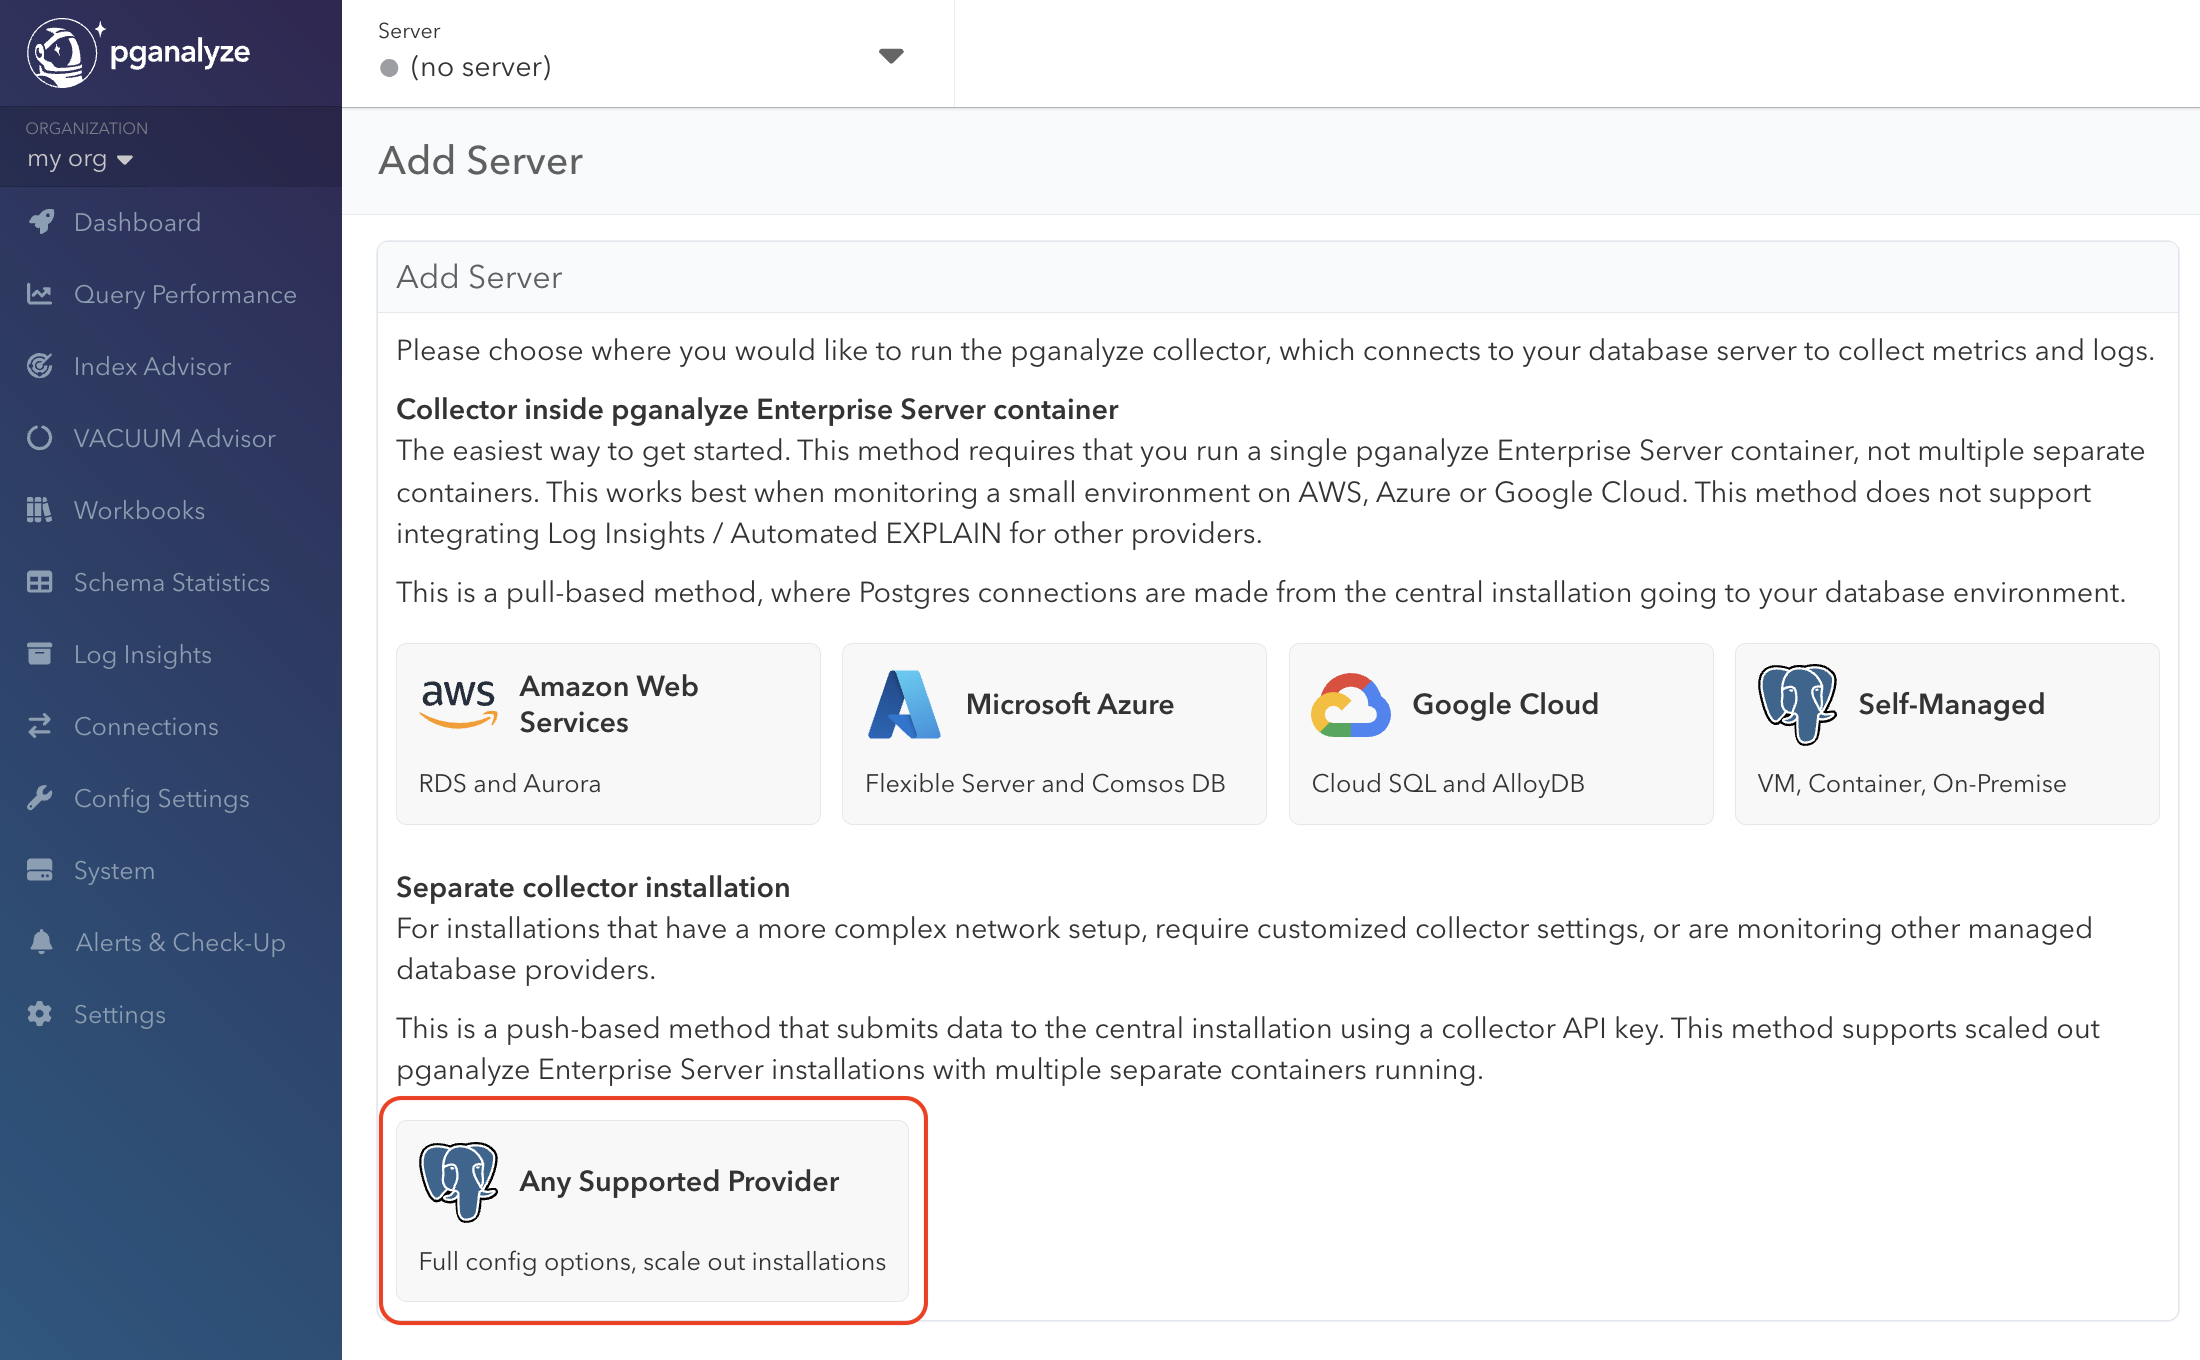
During the setup and configuration process, you will need to set both the
api_key and api_base_url parameters in your Collector configuration file.
Next steps
To learn more about adding additional team members, see Account Management.
We also recommend changing both the email and password of the admin user initially created (you can do so by clicking on “Admin” in the lower left of the screen).
Additionally, you can review all configuration settings for the Enterprise container.
Appendix: How to apply config changes
In case you want to make adjustments to the configuration, simply adjust the pganalyze-enterprise.yml file from earlier, and then apply with kubectl:
kubectl apply -f pganalyze-enterprise-slim.ymlWhen changing the secrets information without changing the Kubernetes template, you can restart the deployment like this:
kubectl rollout restart deployment pganalyze-web
kubectl rollout restart deployment pganalyze-worker
Couldn't find what you were looking for or want to talk about something specific?
Start a conversation with us →